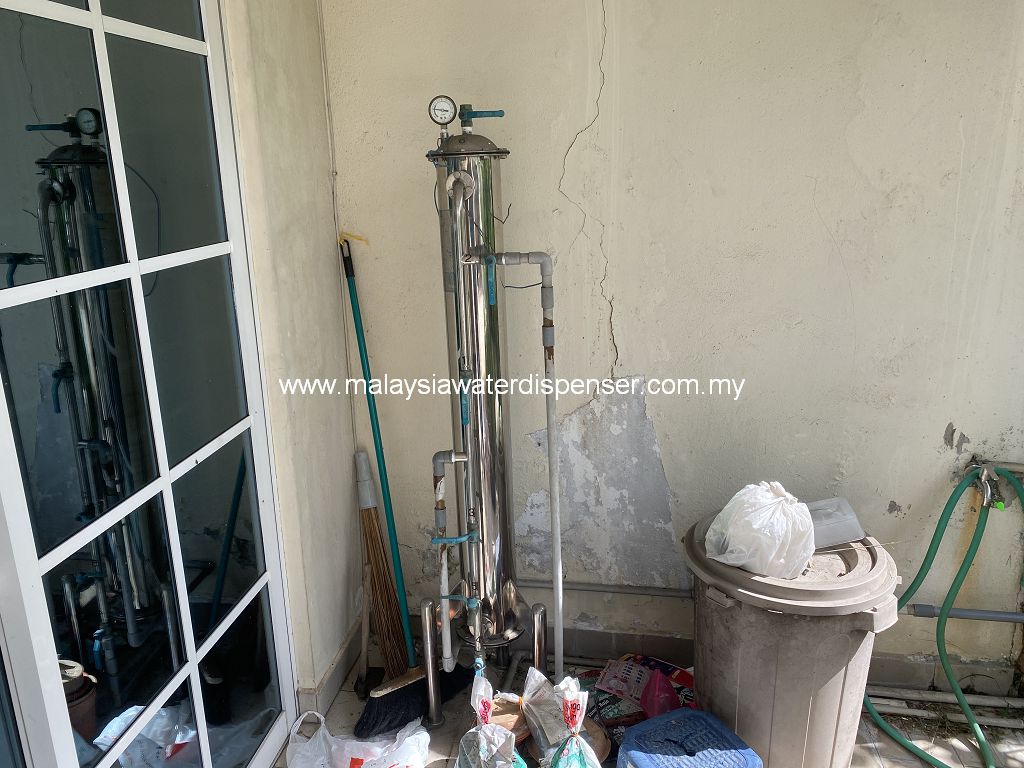
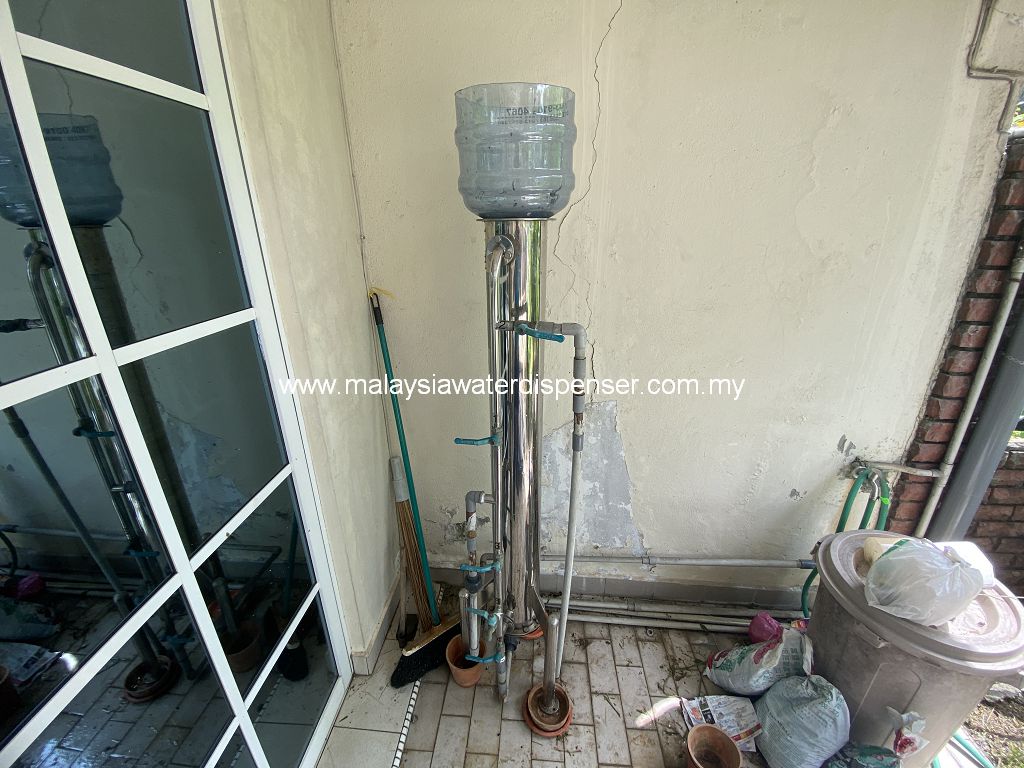
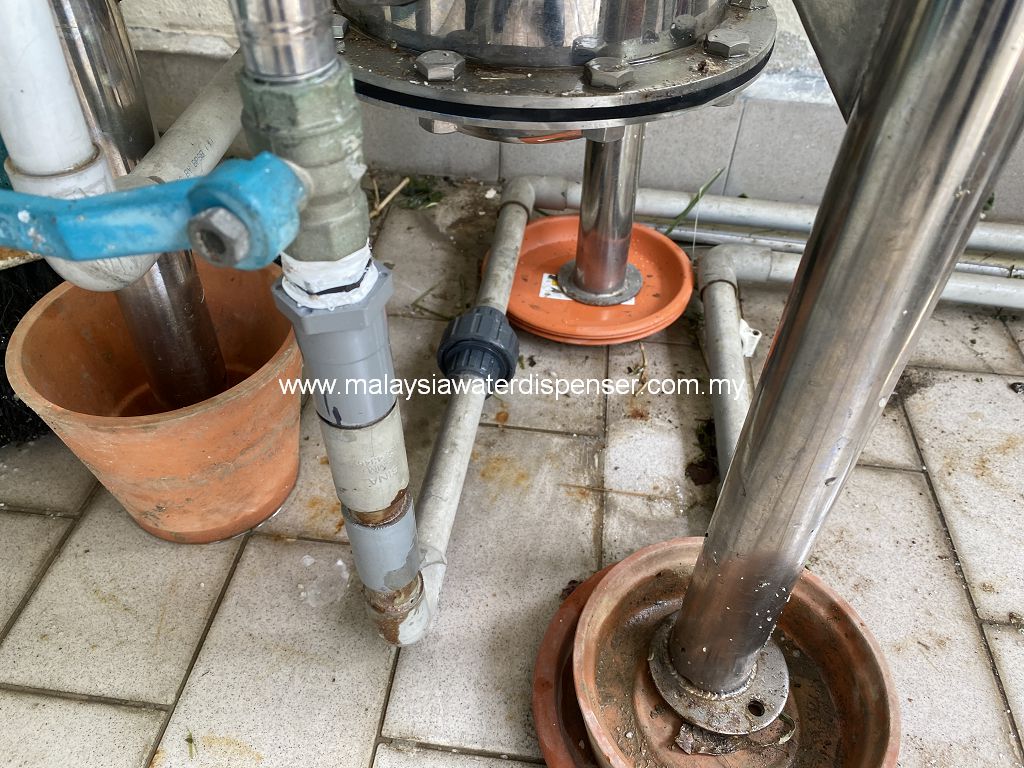
In outdoor environments, filters play a crucial role in helping us purify water sources and ensure drinking water safety. Today, I will share with you how to replace the filter cartridge of a rocket-shaped outdoor filter to ensure its proper functioning.
Step 1: Preparation First, make sure you have purchased new filter cartridges, new sand, and activated carbon suitable for your rocket-shaped outdoor filter. Ensure that these materials meet quality standards and are compatible with your filter.
Step 2: Shut off the water supply Before starting the filter cartridge replacement, be sure to close the water supply valve. This will prevent inconvenience from water flow and water wastage during the replacement process.
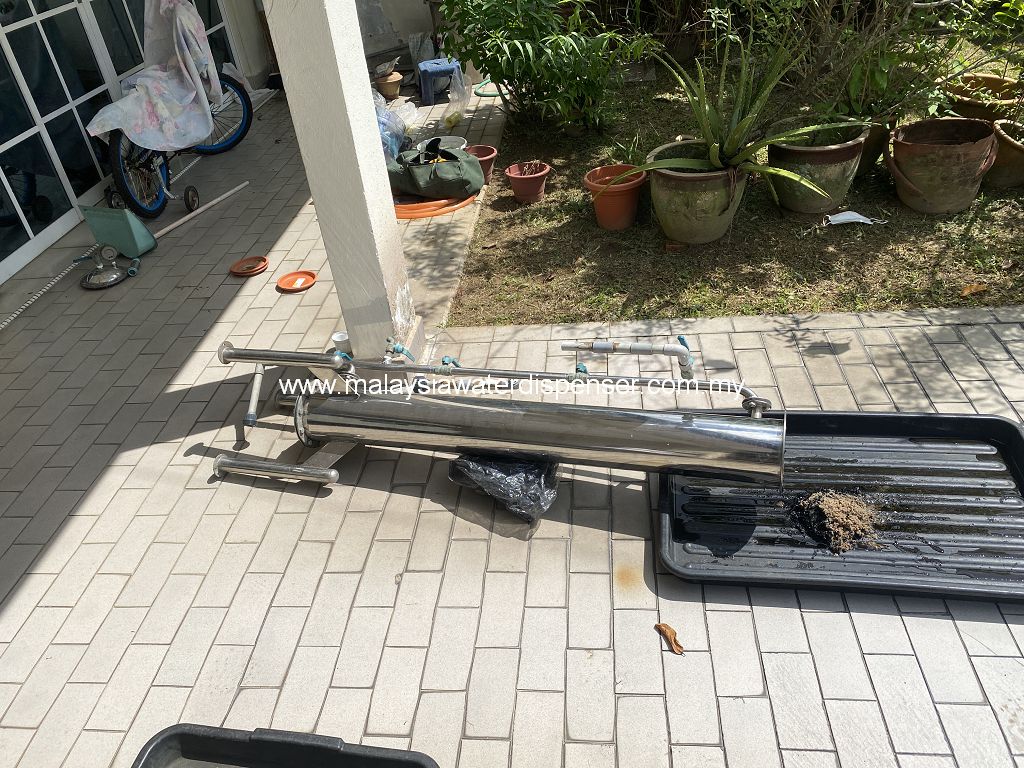
Step 3: Open the top of the filter Place the body of the rocket-shaped outdoor filter in a horizontal position.
Step 4: Remove the old filter cartridge After opening the filter, you will see the internal filter cartridge. Carefully remove the old filter cartridge and place it in an appropriate location for disposal or recycling.
Step 5: Replace the sand and activated carbon Once the old filter cartridge is removed, you can empty the sand inside the filter. Dispose of the old sand properly. Next, gradually pour in the new sand and activated carbon, ensuring an even distribution.
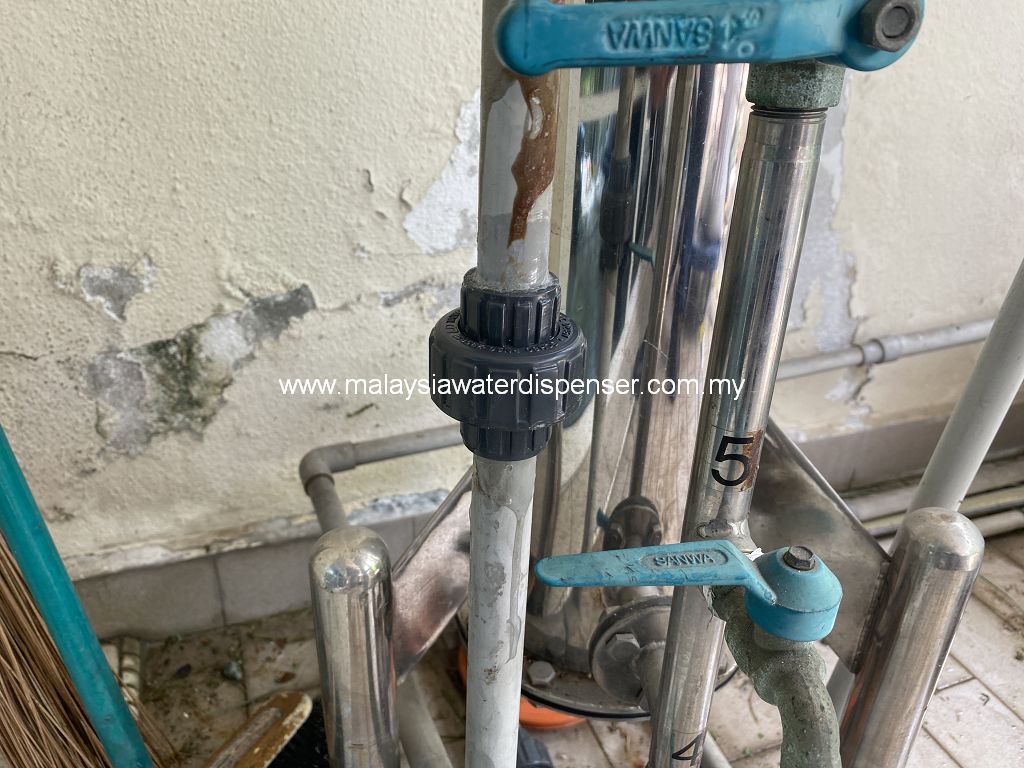
Step 6: Connect the water pipe After ensuring that the new filter cartridge, sand, and activated carbon are installed, connect the water pipe to the filter correctly. Ensure a secure connection to avoid any leaks.
Step 7: Test and activate After completing all the steps, reopen the water supply valve. Check for any leaks around the filter and ensure that water flows properly through the filter. Wait for some time until the water becomes clear and odor-free, and then you can start using the filter.
By following the above steps to replace the filter cartridge of a rocket-shaped outdoor filter, you can ensure its proper functioning and provide clean and healthy water. Regularly replacing the filter cartridge is key to maintaining efficient filter operation. It is recommended to perform regular maintenance based on the manufacturer’s recommendations and water quality conditions.
I hope this article provides helpful guidance and assistance for replacing the filter cartridge of your outdoor filter. If you have any questions or need further help, please feel free to consult us.
在户外环境中,过滤器扮演着至关重要的角色,帮助我们净化水源,保证饮水安全。今天,我将与大家分享如何更换火箭外形户外过滤器的滤芯,以确保过滤器的正常运行。
步骤1:准备工作
首先,确认您已经购买了适合火箭外形户外过滤器的新滤芯、新沙石和活性炭。确保这些材料是符合质量标准的,并能与您的过滤器兼容。
步骤2:关闭供水
在开始更换滤芯之前,务必关闭供水阀门。这样可以避免水流带来的不便和滤芯更换过程中的水浪费。
步骤3:打开过滤器顶部白钢头
将火箭外形户外过滤器的机身放倒。
步骤4:取出旧的滤芯
在打开过滤器后,您将看到内部的滤芯。小心地将旧的滤芯取出,并放置在合适的位置进行处理或回收。
步骤5:更换沙石和活性炭
一旦旧的滤芯取出,您可以清空过滤器内部的沙石。倒出旧沙石并将其处理。接下来,将新的沙石和活性炭逐步倒入过滤器,确保均匀分布。
步骤6:连接水管
确保新滤芯、沙石和活性炭已经安装好后,将水管正确连接到过滤器上。确保连接紧固,避免出现漏水的情况。
步骤7:测试和启用
确保所有步骤都已完成后,重新打开供水阀门。检查过滤器周围是否有任何泄漏,并确保水流正常通过过滤器。等待一段时间,直至水流变得清澈无异味,然后即可开始使用过滤器。
通过按照以上步骤更换火箭外形户外过滤器滤芯,您可以确保过滤器正常运行,并提供清洁健康的水源。定期更换滤芯是保持过滤器高效运作的关键,建议根据制造商的建议和水质状况进行定期维护。
希望本文对您更换户外过滤器滤芯提供了有益的指导和帮助。如果您有任何疑问或需要进一步的帮助,请随时向我们咨询。
