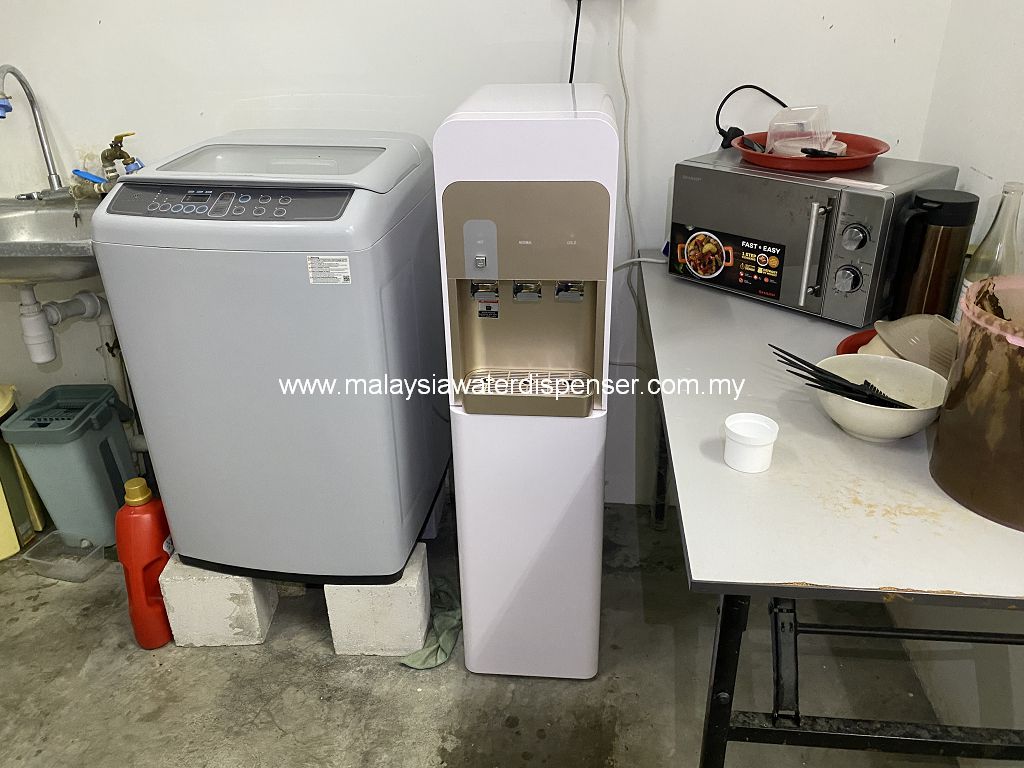
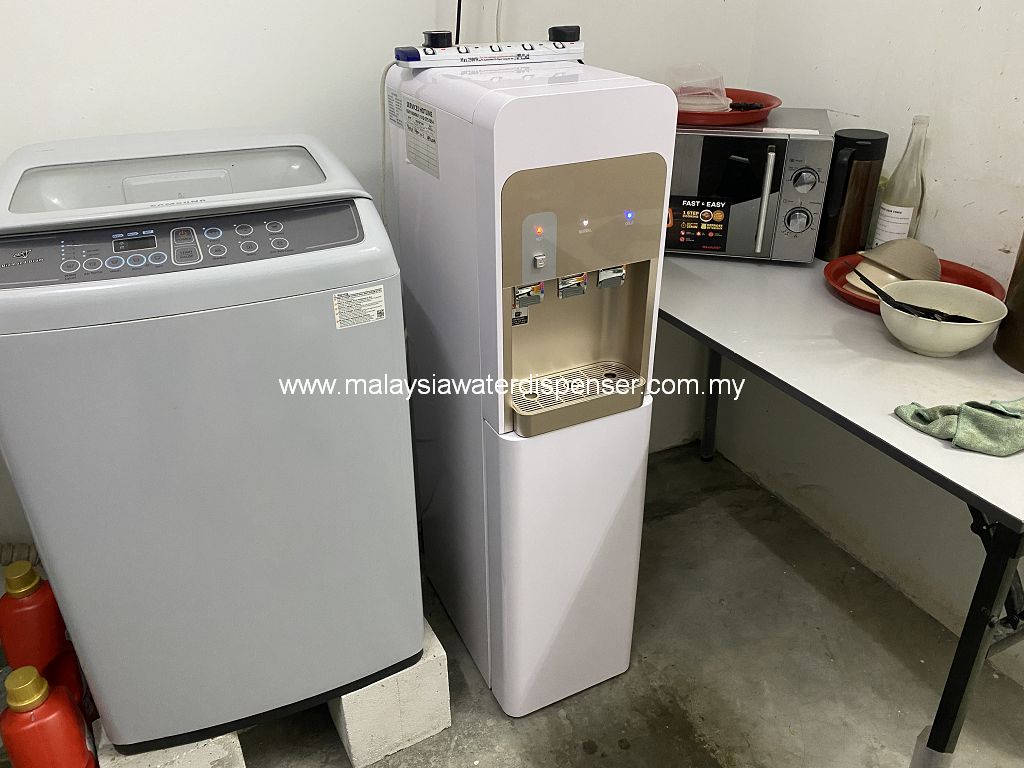
In today’s fast-paced modern life, the importance of drinking pure water cannot be overstated. Water dispensers have become an indispensable part of our lives, providing us with convenient access to clean drinking water. However, to ensure the quality and health of our drinking water, regularly replacing the filter cartridge is an essential step.
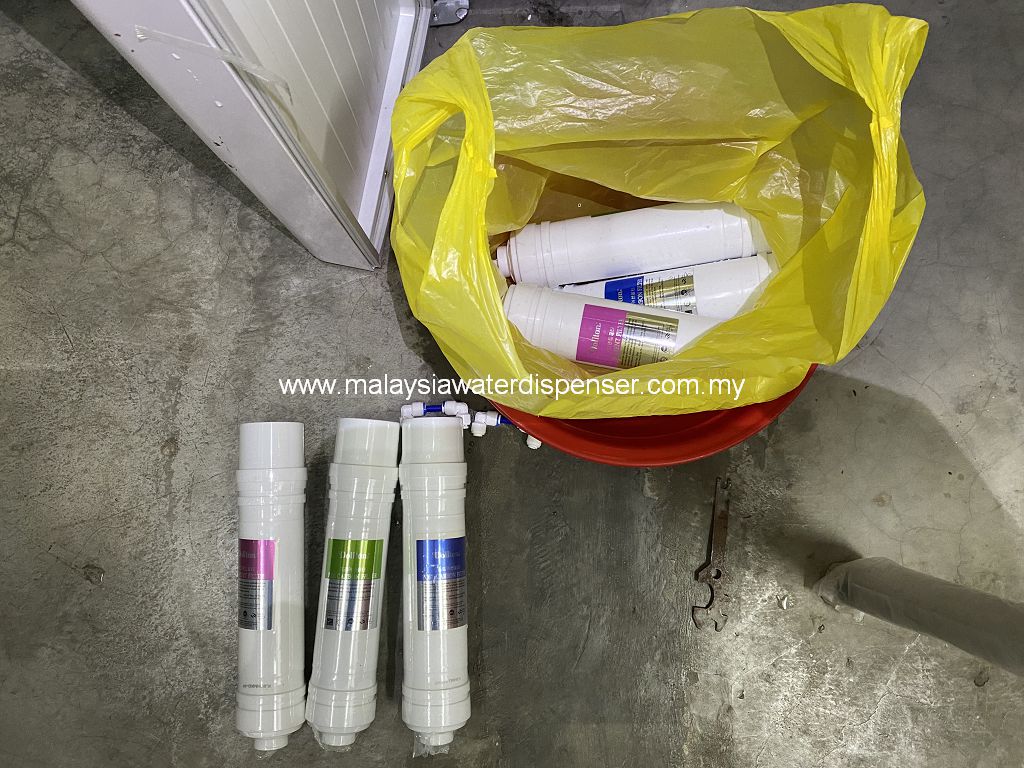
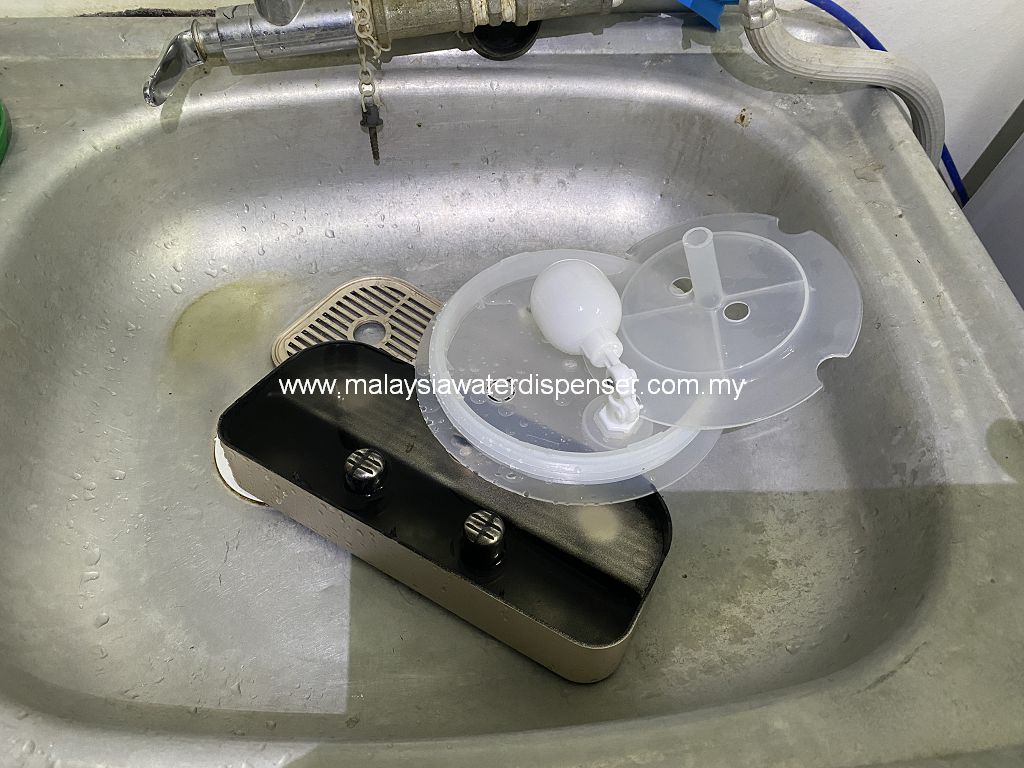
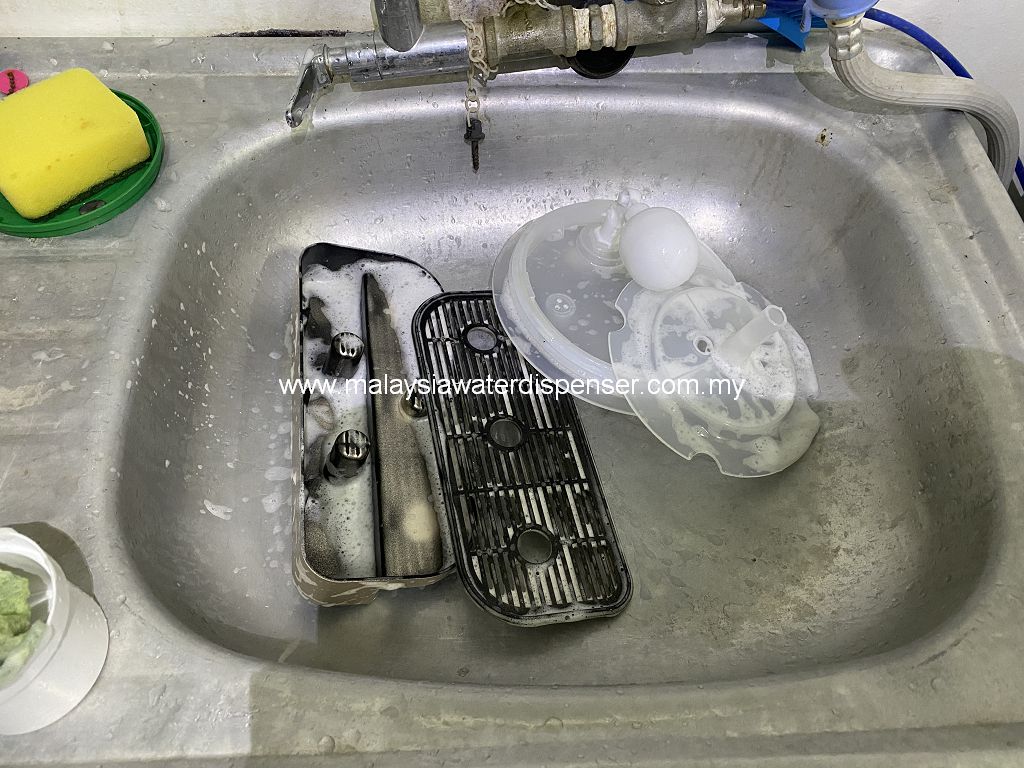
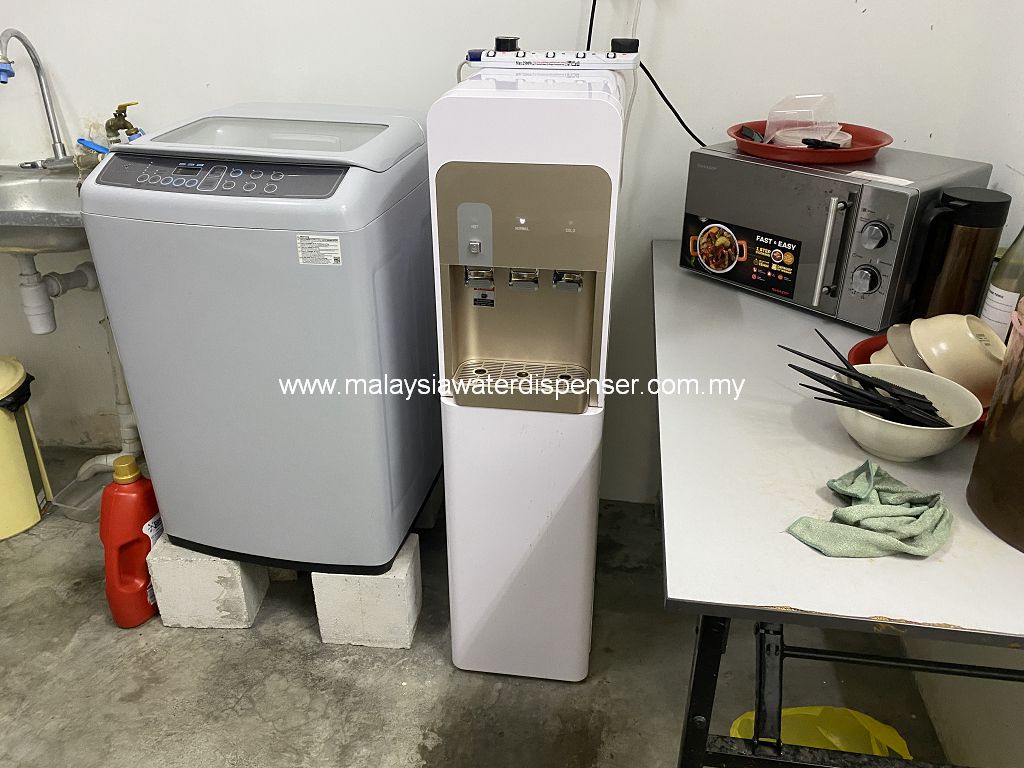
Today, we will be replacing the filter cartridge and performing a cleaning service for the VGUF-60C model water dispenser. This process is both simple and crucial, as it ensures that the water quality in our homes remains healthy and clean.
Step 1: Care and Preparation
Before starting the filter replacement, ensure that the water dispenser is in the off position and unplug it to ensure safety. Also, have some clean towels or tissues ready to catch any potential drips and prevent them from reaching the floor.
Step 2: Open the Casing and Locate the Activated Carbon Filter
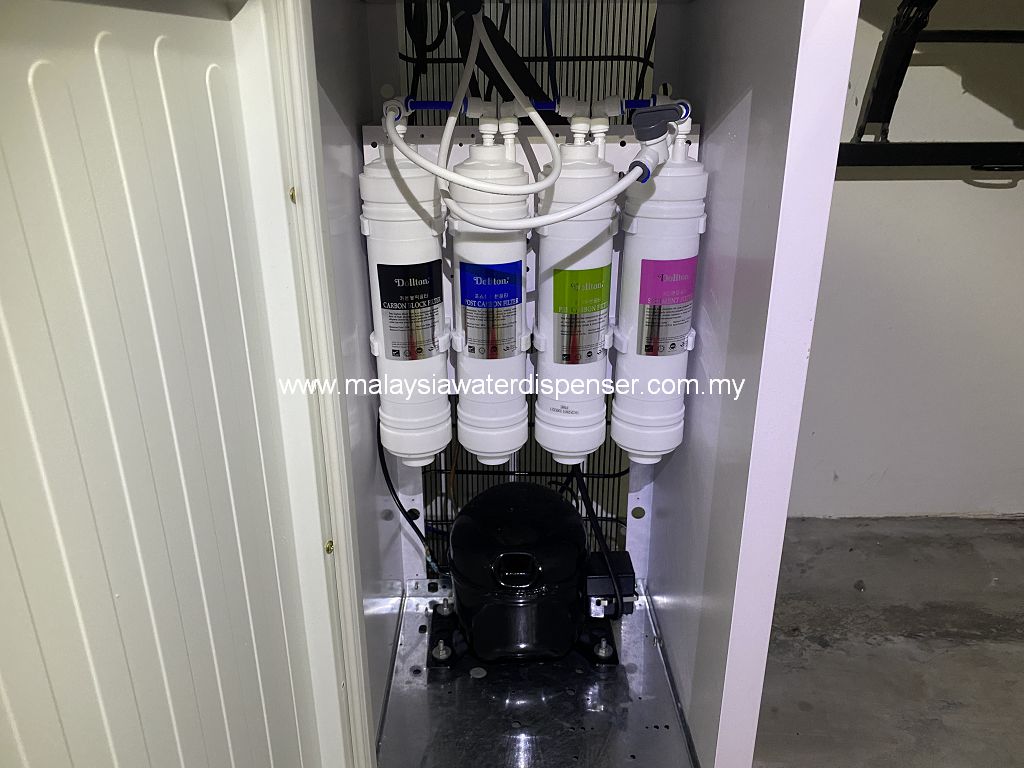
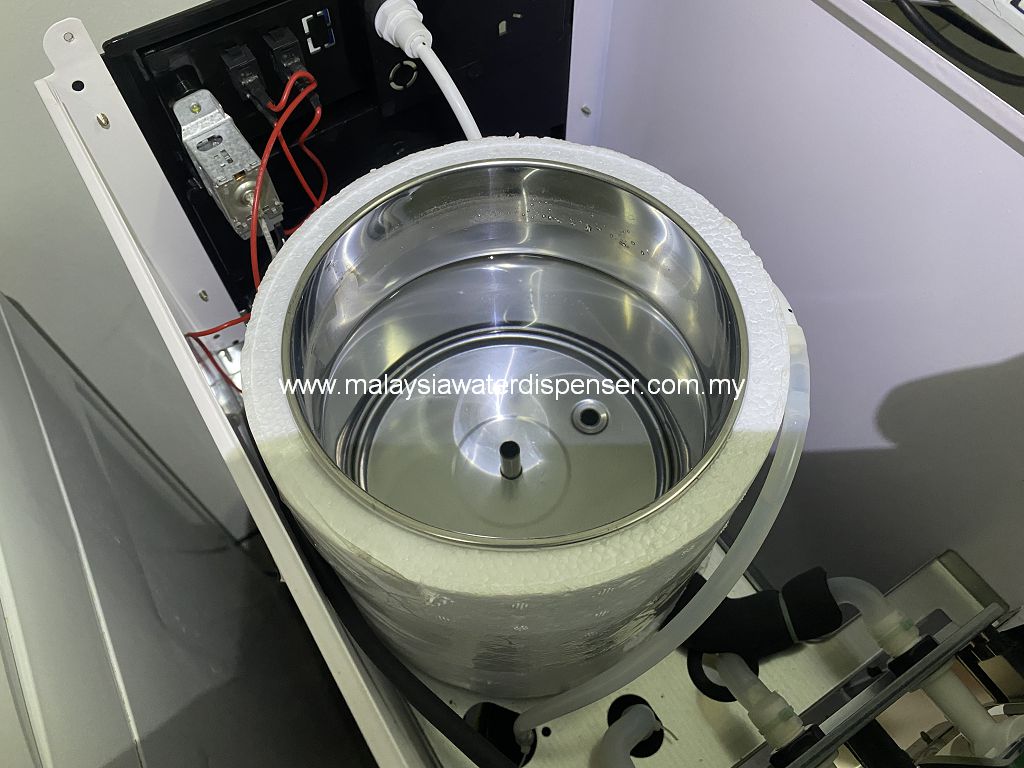
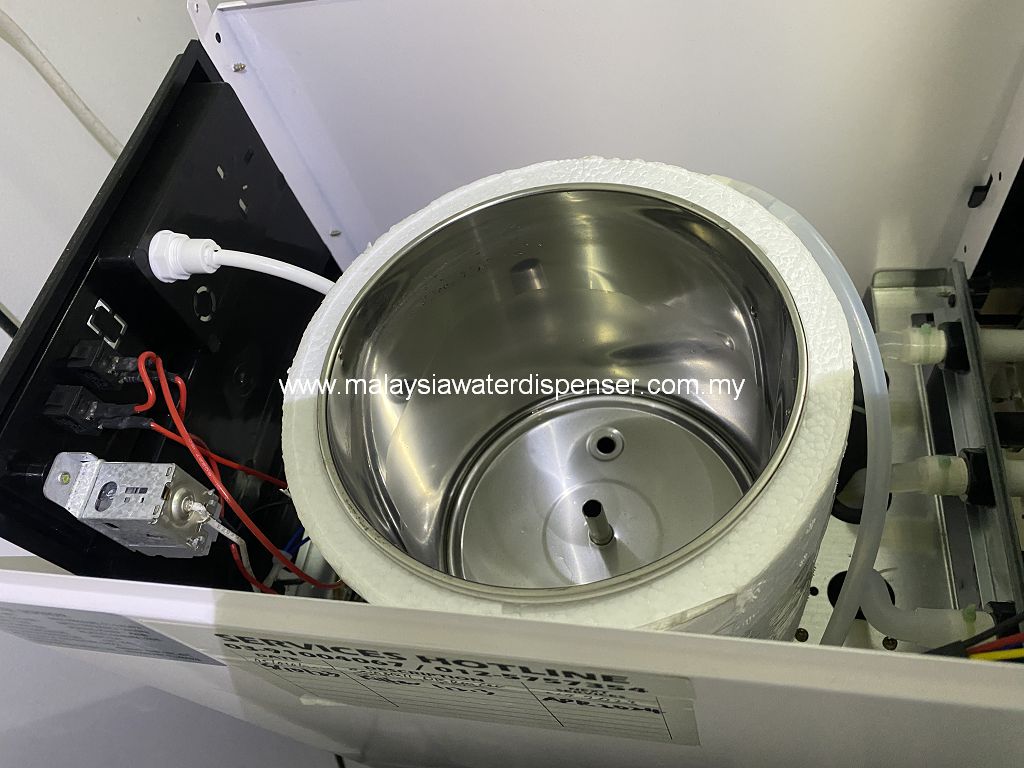
For the VGUF-60C model water dispenser, we need to find the location of the activated carbon filter. Typically, it is housed inside the machine, and you may need to open the casing to access it.
Step 3: Drain Carefully
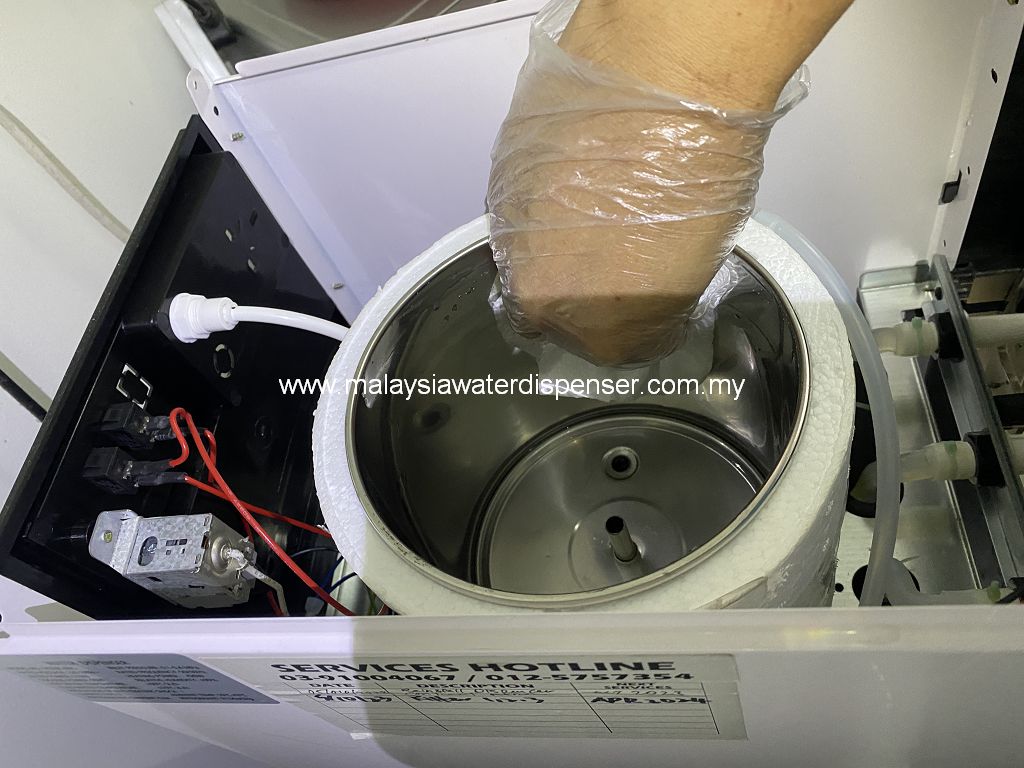
To ensure that the new filter performs optimally, we need to completely drain out the activated carbon water. Gently open the outlet of the activated carbon filter and let the water flow into a prepared container.
Please be patient and wait until the outflowing water becomes clear and transparent. This step may take some time, but it is crucial to ensure the proper functioning of the new filter.
Step 4: Replace the Filter
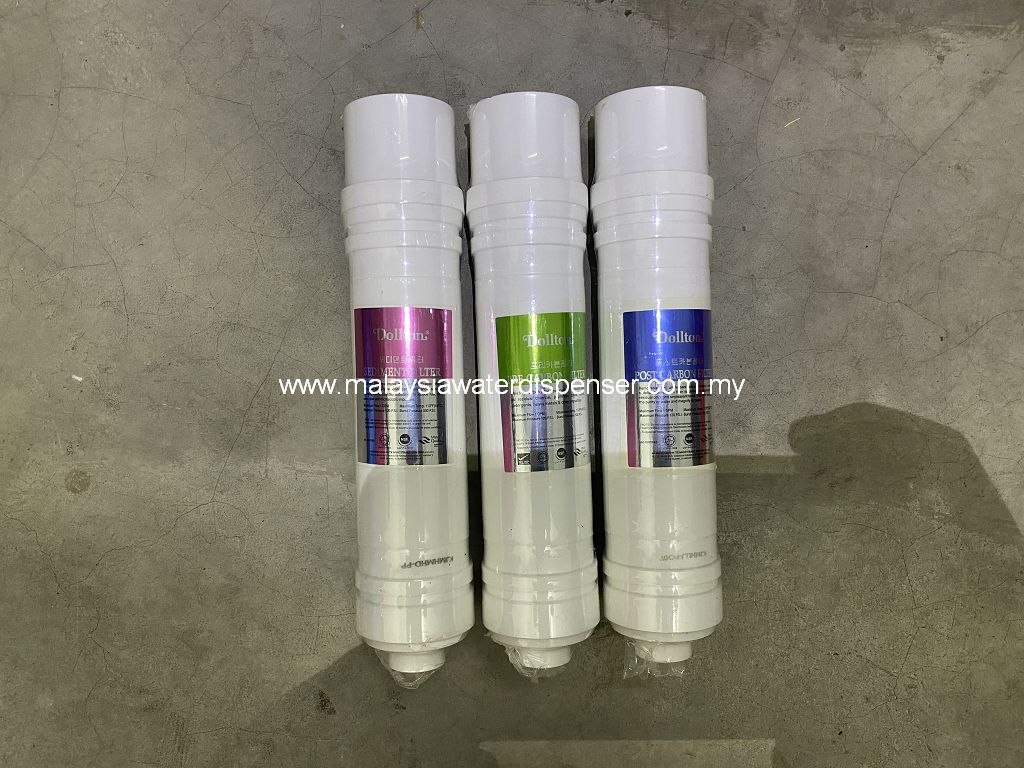
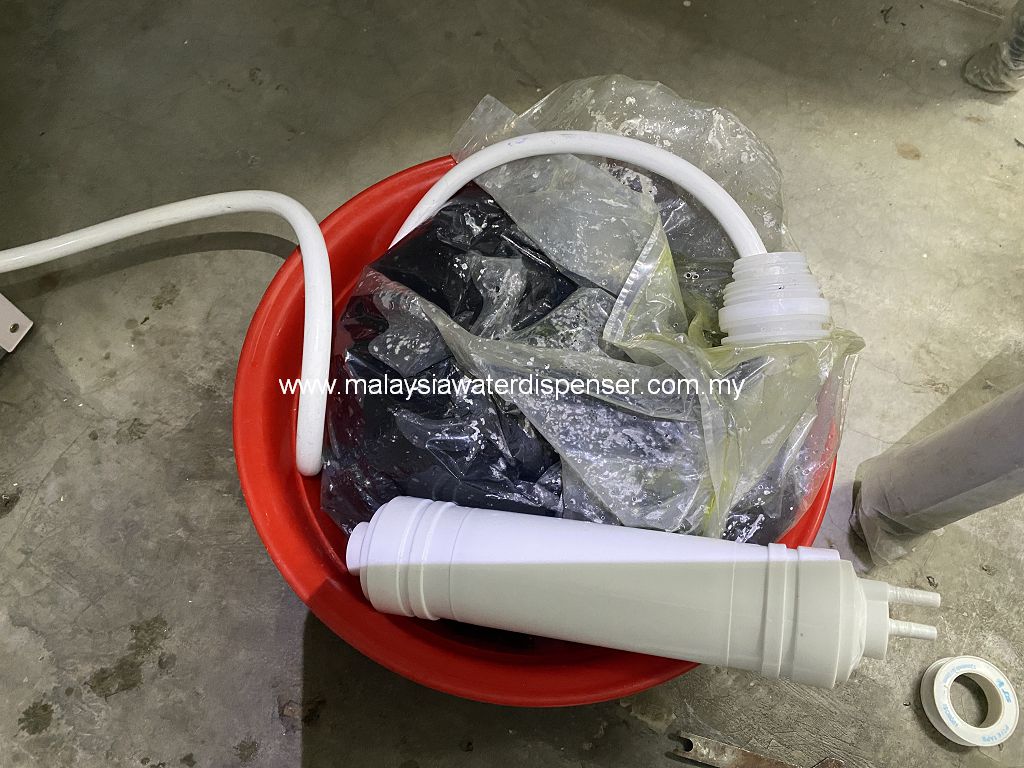
Gently twist and remove the old filter. This process may result in some water droplets, so use the prepared towels or tissues to wipe it clean.
Step 5: Secure Installation
After draining the activated carbon water, gently install the new activated carbon filter into the bracket, ensuring it is securely in place. This step is crucial to prevent any potential leaks.
Step 6: Purge Air
After installing the new filter, open the water source and let the water flow for a period of time to ensure that any air in the system is purged. Continue this process until you no longer see any noticeable air bubbles.
Step 7: Check for Leaks
Before restarting the water dispenser, carefully inspect all connections to ensure there are no loose or leaking components. This step ensures the proper operation of the water dispenser and the safety of the water source.
Step 8: Restart the Water Dispenser
Plug in the power cord, turn on the water dispenser, and ensure that it is functioning properly.
Through this simple yet crucial filter replacement and cleaning service, we guarantee the reliable operation of the water dispenser in our homes, allowing us to enjoy healthy and pure drinking water every day. May our families and those around us continue to benefit from a fresh water source, maintaining health and vitality!
当代生活的快节奏使得饮用纯净水变得至关重要。饮水机成了我们生活中不可或缺的一部分,为我们提供了便利的饮用水源。然而,为了保证饮用水的品质和健康,定期更换滤芯是必不可少的一环。
今天,我们将为型号为VGUF-60C的饮水机进行滤芯更换和清洗服务。这一过程既简单又重要,它能保证我们家中的水质始终保持在一个健康、干净的状态。
第一步:关爱与准备
在开始滤芯更换之前,首先确保饮水机处于关闭状态,并将插头拔掉,以确保操作的安全性。同时,准备一些干净的毛巾或纸巾,以防止水滴滑落到地面。
第二步:打开外壳,找出需要更换的活性炭滤芯
对于VGUF-60C型号的饮水机,我们需要找到活性炭滤芯的所在位置。通常,它隐藏在机器内部,您可能需要打开外壳才能找到它。
第三步:细心排水
为了保证新的滤芯能够发挥最佳效果,我们需要将活性炭碳水彻底排除干净。轻轻打开活性炭滤芯出水口,让水流入一个准备好的容器中。
请耐心等待,直至出流的水变得清澈透明。这一步可能需要一些时间,但它是确保新滤芯正常运作的重要环节。
第四步:更换滤芯
轻轻扭动旧滤芯,将它取下。这一过程可能会有一些水滴落下,用准备好的毛巾或纸巾擦拭干净。
第五步:稳固安装
当活性炭碳水排干净后,将新的活性炭滤芯轻轻安装支架中,确保它牢固地安装在位。这一步至关重要,以避免漏水。
第六步:排除空气
在安装新滤芯后,打开水源,让水流出一段时间,以确保排除系统中的空气。直至您看到没有明显的气泡冒出。
第七步:检查漏水
在重新启动饮水机之前,仔细检查所有连接处,确保没有松动或漏水的情况发生。这一步确保了饮水机的正常运转和水源的安全。
第八步:重启饮水机
插上电源插头,打开饮水机的电源,确保它正常运行。
通过这一简单而重要的滤芯更换与清洗服务,我们保证了家中饮水机的稳健运行,也让我们每天饮用的水更加健康、纯净。愿我们的家人与身边的人们始终享受到清新的水源,保持健康活力!
