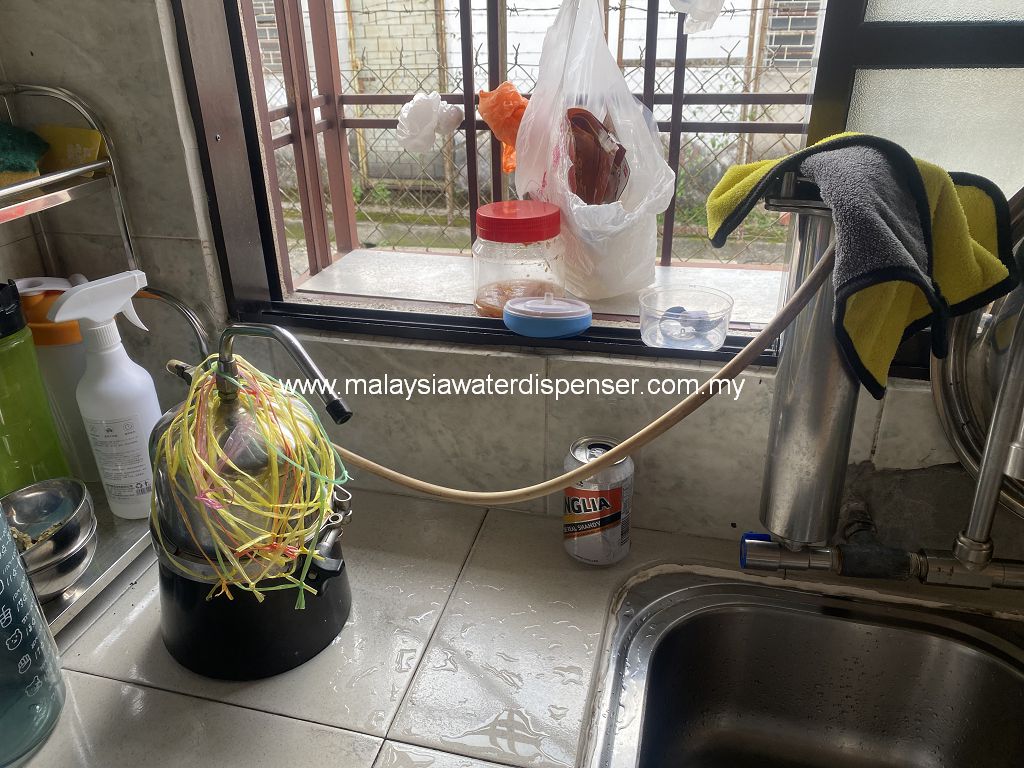
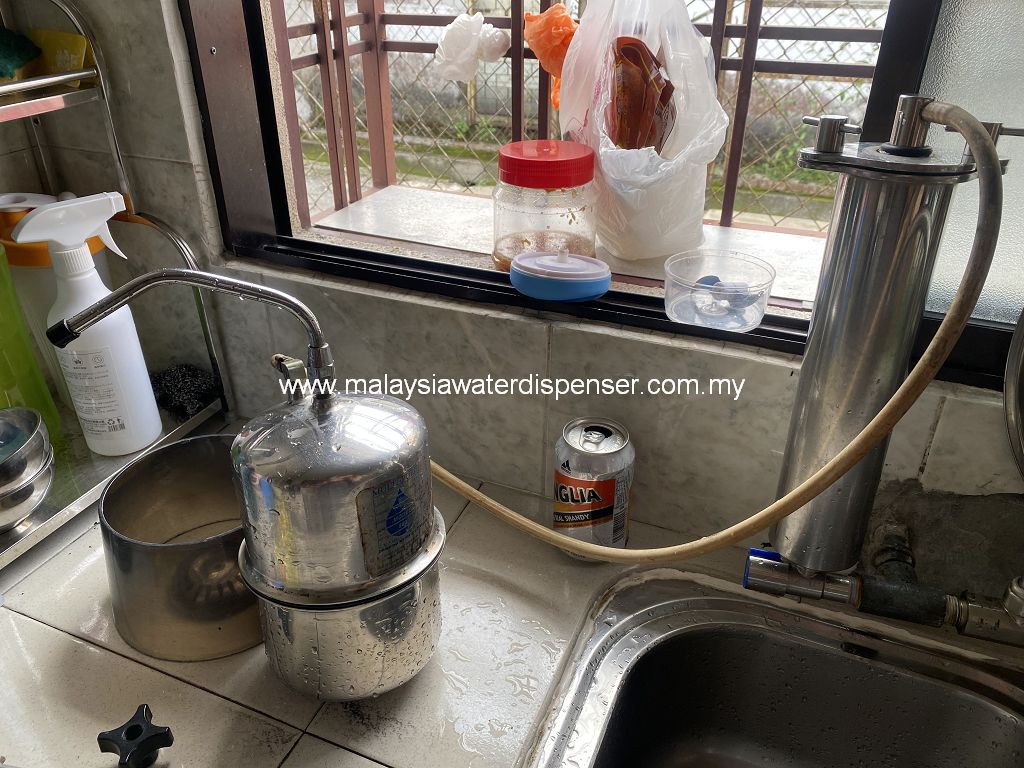
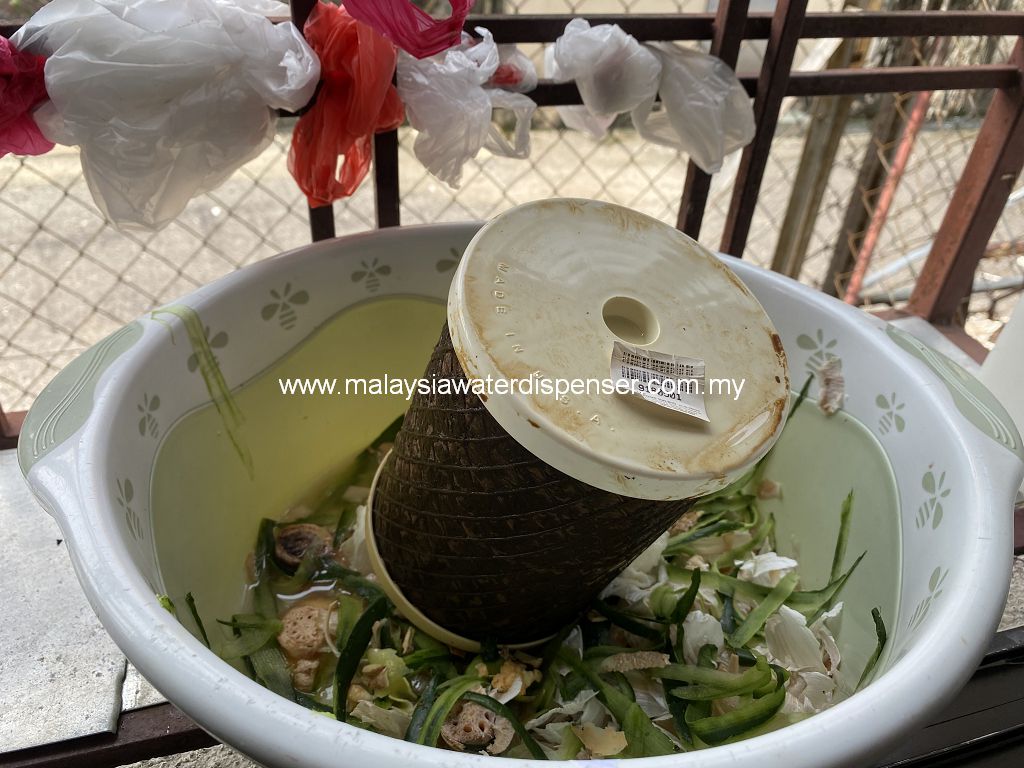
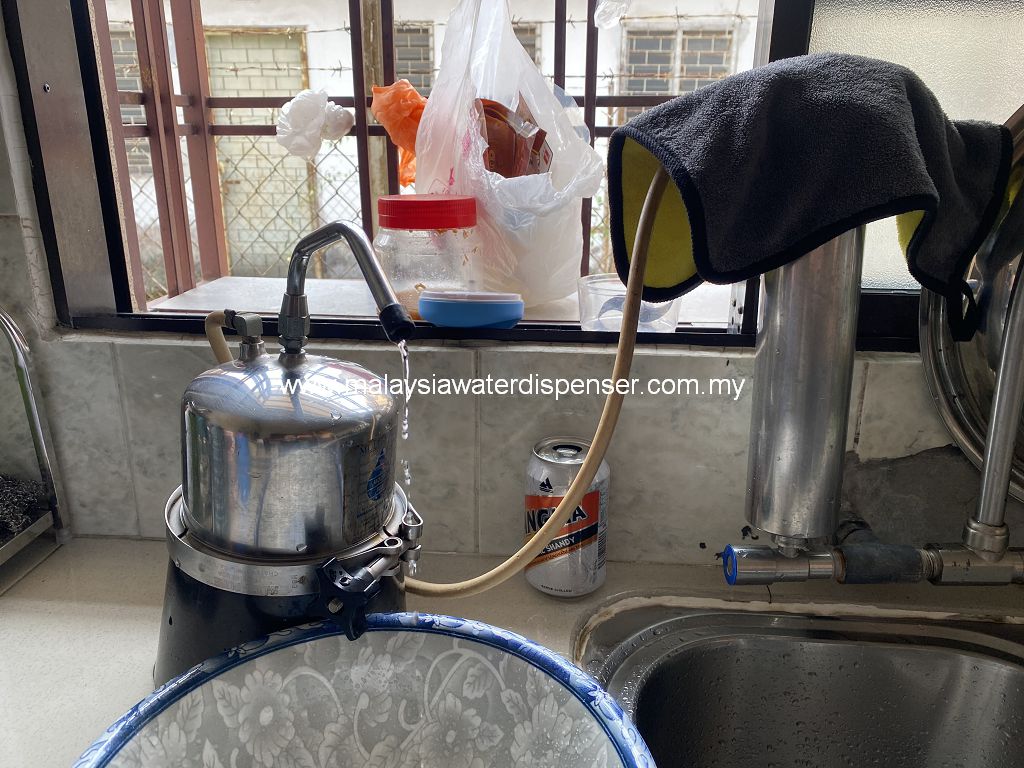
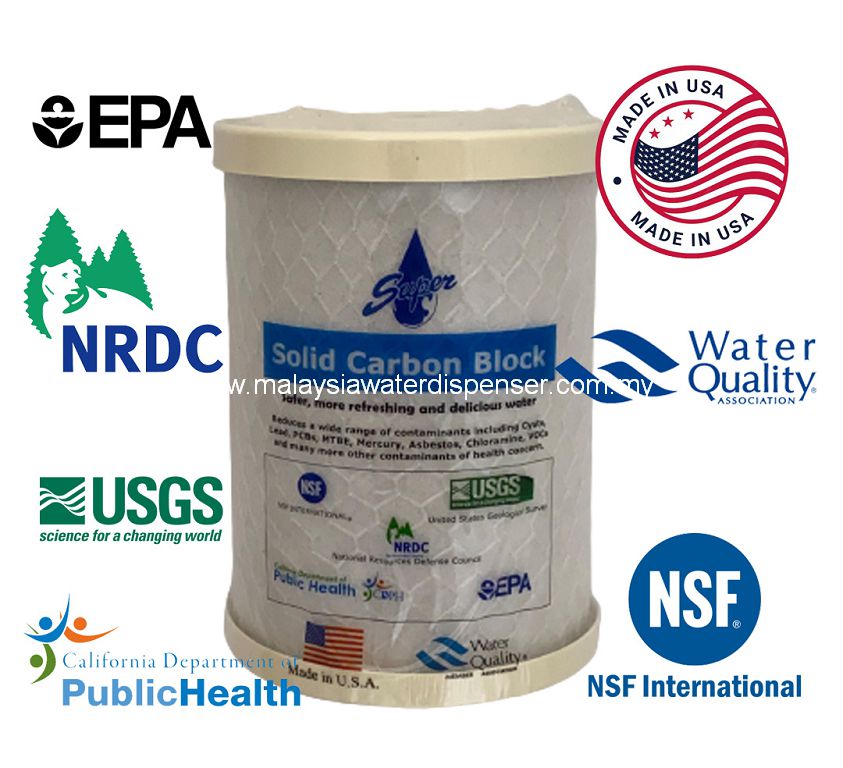
If you own a PURE CLEAN stainless steel water purifier system, it’s important to regularly replace the filter cartridge to ensure that your drinking water remains clean and safe. Here’s a step-by-step guide on how to replace the filter cartridge in your system:
- Turn off the water supply: Before you begin, turn off the water supply to the system to prevent any leaks or spills. You can do this by closing the valve located near the water inlet.
- Drain the water: Next, drain any remaining water in the system by opening the faucet or valve on the purifier. This will help prevent any water from spilling when you remove the filter cartridge.
- Remove the old filter cartridge: Once the water is drained, locate the filter cartridge in the system. Depending on the model, you may need to unscrew to remove it. Be sure to follow the manufacturer’s instructions carefully.
- Clean the filter housing: With the old filter cartridge removed, clean the filter housing thoroughly using a mild detergent and water. This will help remove any debris or buildup that may have accumulated over time.
- Insert the new filter cartridge: Now it’s time to install the new filter cartridge. Make sure to align it correctly with the housing and follow the manufacturer’s instructions on how to secure it in place.
- Turn on the water supply: With the new filter cartridge installed, turn the water supply back on and allow the system to fill up with water. Keep the faucet or valve open to allow any air to escape.
- Flush the system: Finally, flush the system by running the water for a few minutes to remove any air or particles that may have accumulated during the installation process. Your system should now be ready to use.
By following these simple steps, you can easily replace the filter cartridge in your stainless steel water purifier system and ensure that your drinking water remains clean and safe. Remember to replace the filter cartridge regularly, as recommended by the manufacturer, to maintain optimal performance and quality.
如果您拥有一台 PURE CLEAN 不锈钢净水器系统,定期更换滤芯非常重要,以确保您的饮用水保持清洁和安全。以下是更换系统中滤芯的步骤:
- 关闭水源:开始之前,关闭净水器旁边的进水阀以防止任何泄漏或溢出。
- 排出水:接下来,打开净水器上的水龙头或阀门排出任何剩余的水。这有助于在您拆下滤芯时防止水溢出。
- 取下旧的滤芯:排水后,找到系统中的滤芯。根据型号的不同,您需要扭动滤芯来取下它。务必仔细遵循制造商的说明。
- 清洁滤芯壳体:拆下旧滤芯后,使用温和的清洁剂和水彻底清洁滤芯壳体。这有助于去除可能已经积累多时的杂质或沉淀。
- 安装新滤芯:现在是安装新滤芯的时候了。确保将其正确对齐,并遵循制造商的说明来将其固定在原处。
- 打开水源:安装新滤芯后,打开水源,让系统充满水。保持水龙头或阀门打开,以让任何空气排出。
- 冲洗系统:最后,冲洗系统,让水流动30分钟,以去除在安装过程中可能积累的任何空气或颗粒。您的系统现在应该可以使用了。
通过遵循这些简单的步骤,您可以轻松更换不锈钢净水器系统中的滤芯,并确保您的饮用水保持清洁和安全。请记得按照制造商的建议定期更换滤芯,以保持最佳性能和质量。
