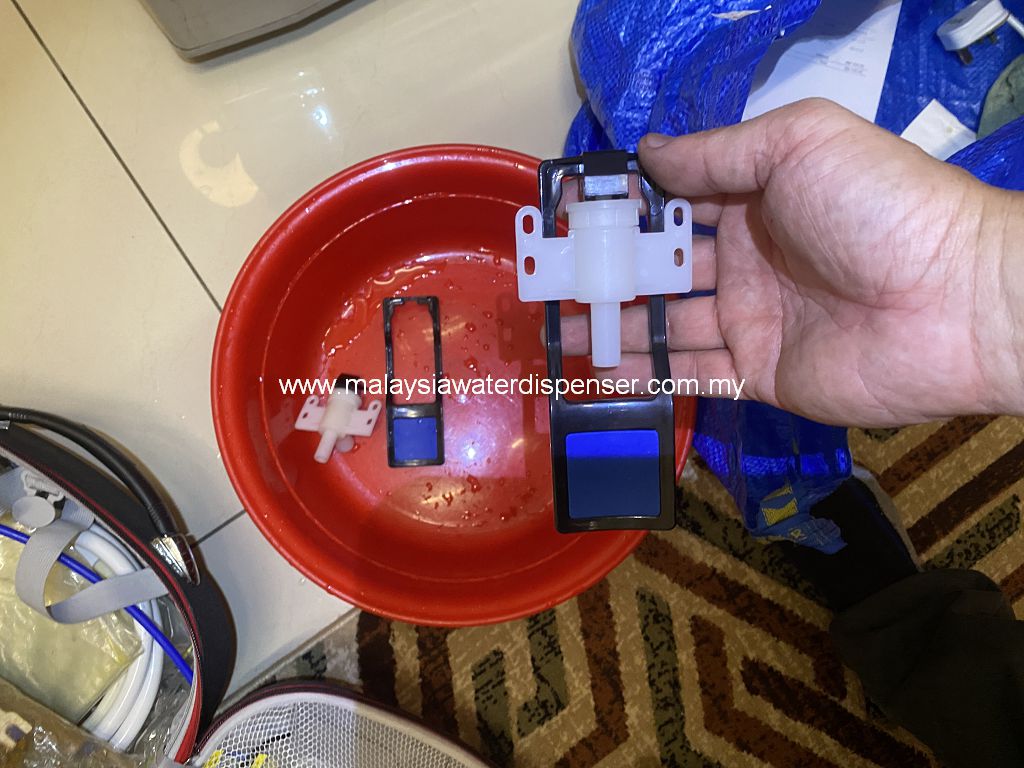
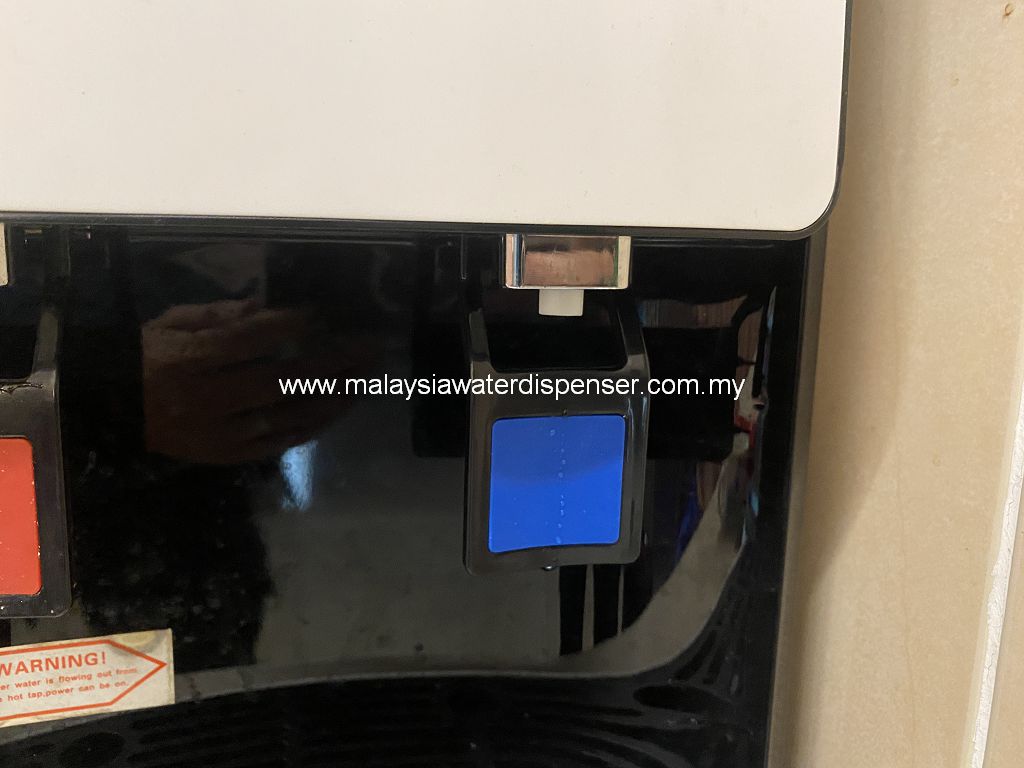
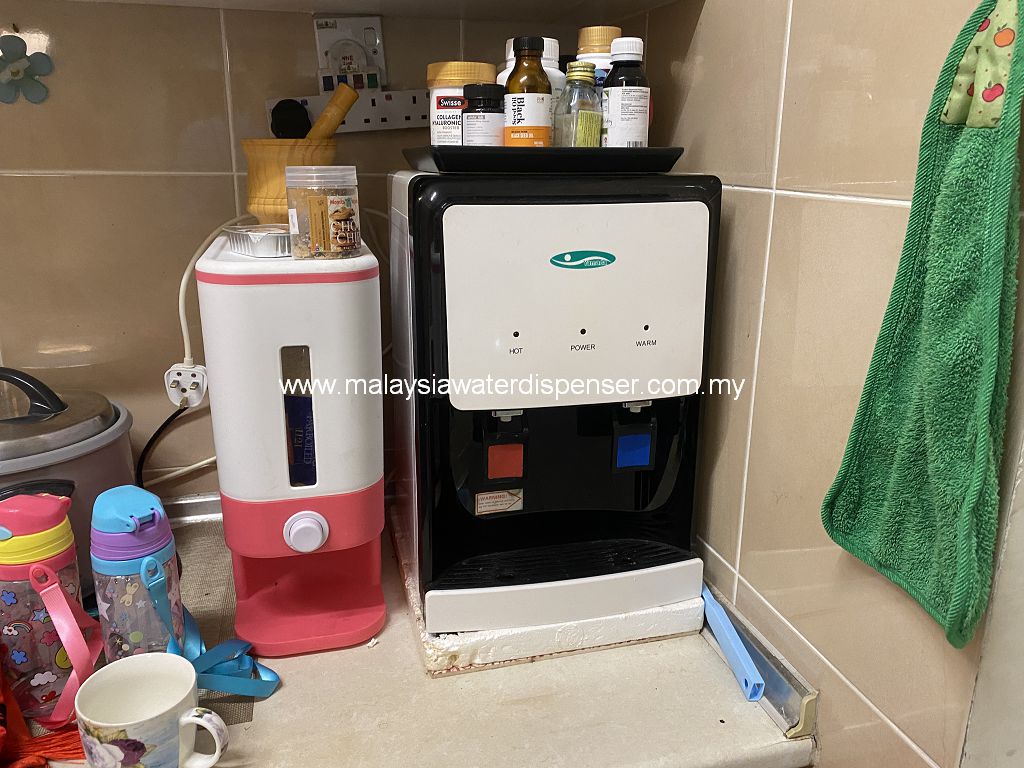
In today’s repair task, we will walk you through a repair experience involving the Yamada 389-25 hot and warm water dispenser. The issue at hand is a malfunctioning warm water tap, which has rendered the dispenser incapable of providing warm water for consumption. Below, we will systematically outline the repair process, including draining the water, disassembling the dispenser’s top cover, and replacing the water tap.
Step One: Draining the Water
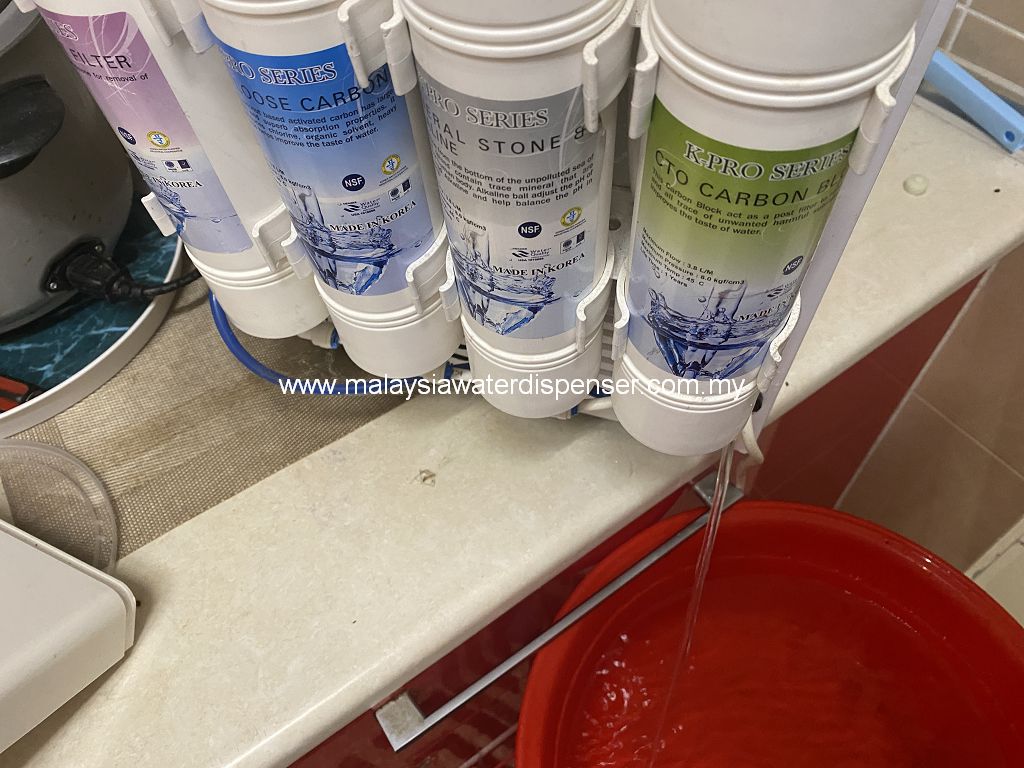
Prior to commencing any repair work, it’s essential to disconnect the dispenser’s power source to ensure safety. The first step involves draining the water inside the dispenser. This can be achieved by opening the rear drain valve of the water dispenser. Make sure to position a container beneath the drain outlet to collect the water flow.
Step Two: Opening the Dispenser’s Top Cover
Disconnect the Power: Before proceeding with any repair, ensure that the dispenser’s power supply is disconnected to guarantee safe handling.
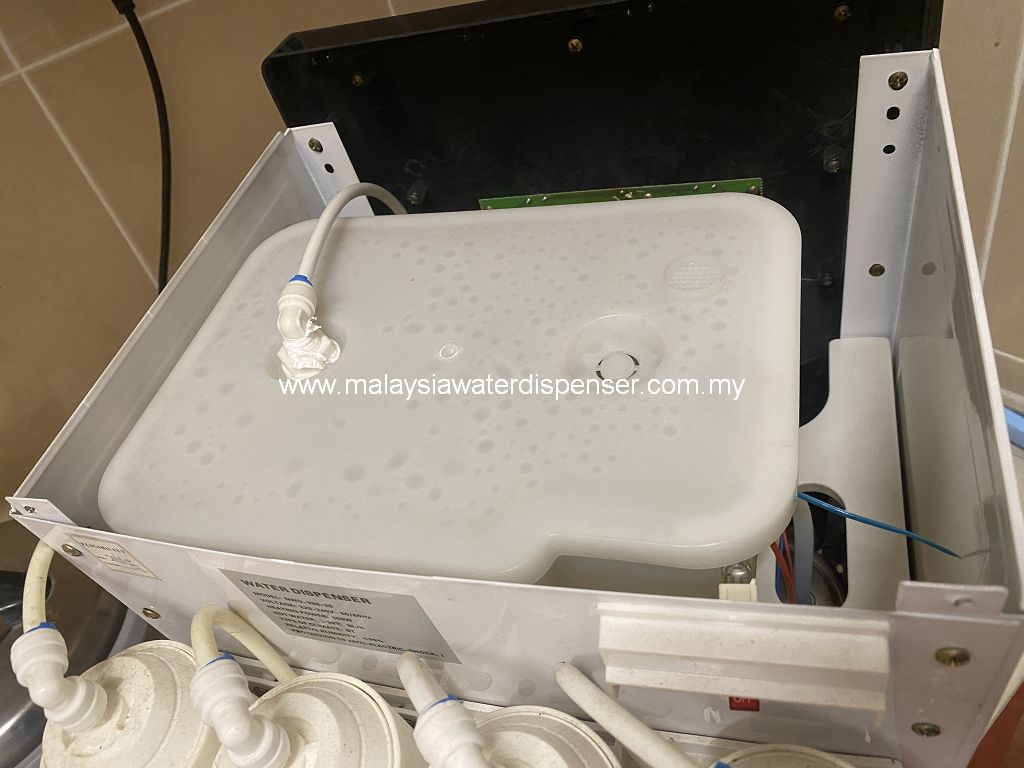
Removing the Top Cover: Using appropriate tools, carefully remove the top cover of the water dispenser. Typically, the top cover is secured with several screws at the top of the dispenser.
Step Three: Replacing the Warm Water Tap
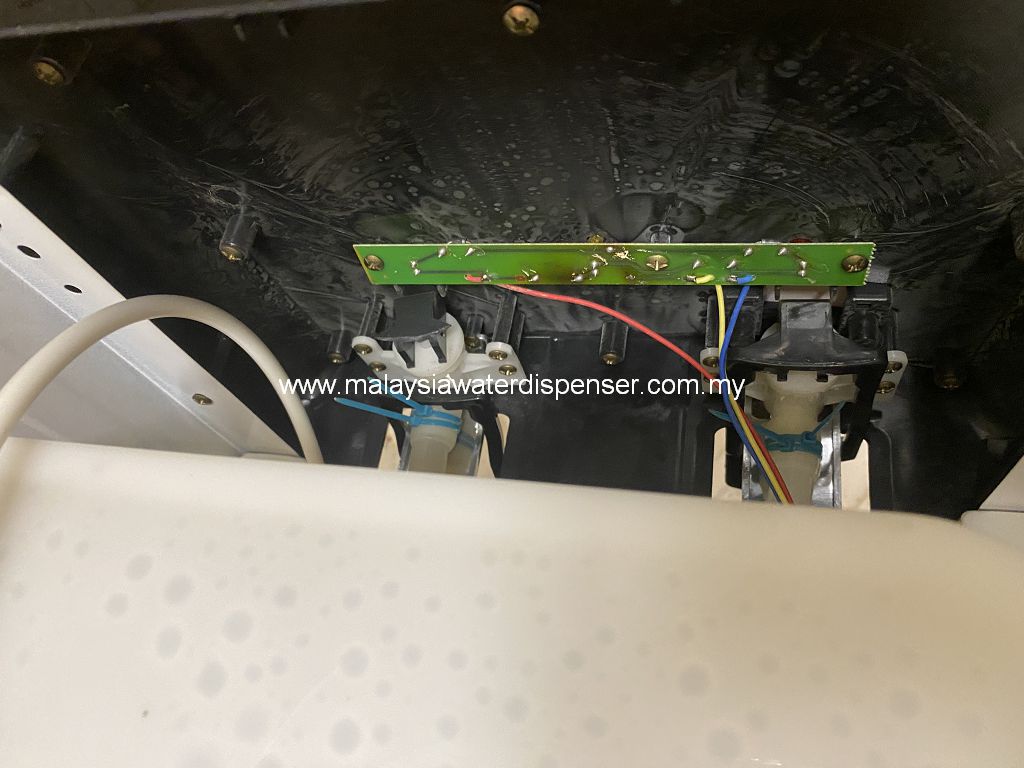
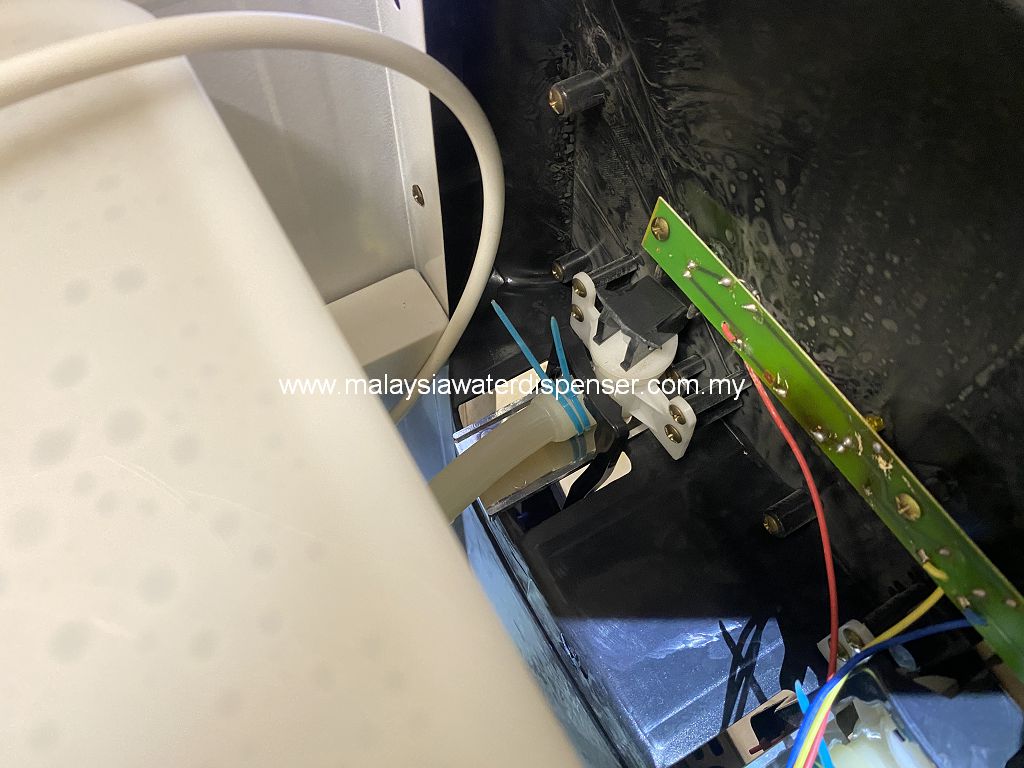
Locate the water tap: Once the top cover is removed, you will be able to locate the hot water tap situated within the dispenser’s interior. Inspect and confirm the extent of the water tap damage.
Loosen the Water Tap Screws: Using the appropriate screwdriver, gently loosen the screws connecting the switch.
Water tap Replacement: Remove the damaged water tap and replace it with a brand-new warm water tap. Ensure that the new water tap aligns with the original position and wiring.
Secure the Screws: Properly fasten the new water tap in place and ensure that the screws are securely tightened.
Step Four: Reassembly and Testing
Replace the Top Cover: Position the dispenser’s top cover back in its correct place and secure it by tightening the screws.
Reconnect the Power: Connect the dispenser to its power source, ensuring all connections are accurate.
Perform Testing: Activate the dispenser’s warm water function to verify that the newly replaced water tap is functioning correctly and capable of providing warm drinking water.
By following the above steps, you have successfully completed the repair of the Yamada 389-25 hot and warm water dispenser, effectively resolving the issue with the defective warm water tap. Please note that if you are not familiar with electrical repairs, it’s advisable to seek assistance from professional repair technicians to ensure safe and accurate repair procedures.
在今天的维修任务中,我们将为大家介绍一次关于Yamada 389-25热暖饮水机的维修经历。问题出在暖水开关损坏,导致无法提供暖水饮用。下面,我们将逐步展示维修过程,包括排水、拆卸饮水机上盖、更换开关等步骤。
步骤一:排水
断开电源:在进行任何维修工作之前,务必断开饮水机的电源,确保安全操作。首先需要将饮水机内的水排出。这可以通过打开饮水机的后面排水阀完成。请确保将容器放置在排水口下方,以收集水流。
步骤二:打开饮水机上盖
拆卸上盖:使用适当的工具,小心地卸下饮水机的上盖。通常,上盖会由几个螺丝固定在饮水机的顶部。
步骤三:更换暖水开关
定位开关:一旦打开上盖,您将能够看到位于饮水机内部的暖水开关。检查并确认开关的损坏情况。
松开暖水开关螺丝:使用合适的螺丝刀,轻轻松开连接开关的螺丝。
更换暖水开关:将损坏的开关取出,替换为全新的暖水开关。确保新开关与原来的位置和布线相匹配。
固定螺丝:将新的开关正确固定在位,并确保螺丝牢固。
步骤四:重新组装与测试
放回上盖:将饮水机的上盖重新放置在正确的位置上,然后紧固螺丝。
连接电源:将饮水机连接到电源,确保一切都正确连接。
进行测试:打开饮水机的暖水功能,确保新更换的开关正常工作,能够提供温暖的饮水。
通过以上步骤,您已经成功地完成了Yamada 389-25热暖饮水机的维修,解决了暖水开关损坏的问题。请注意,如果您不熟悉电器维修,最好请专业维修人员来处理,以确保安全和正确的维修操作。
