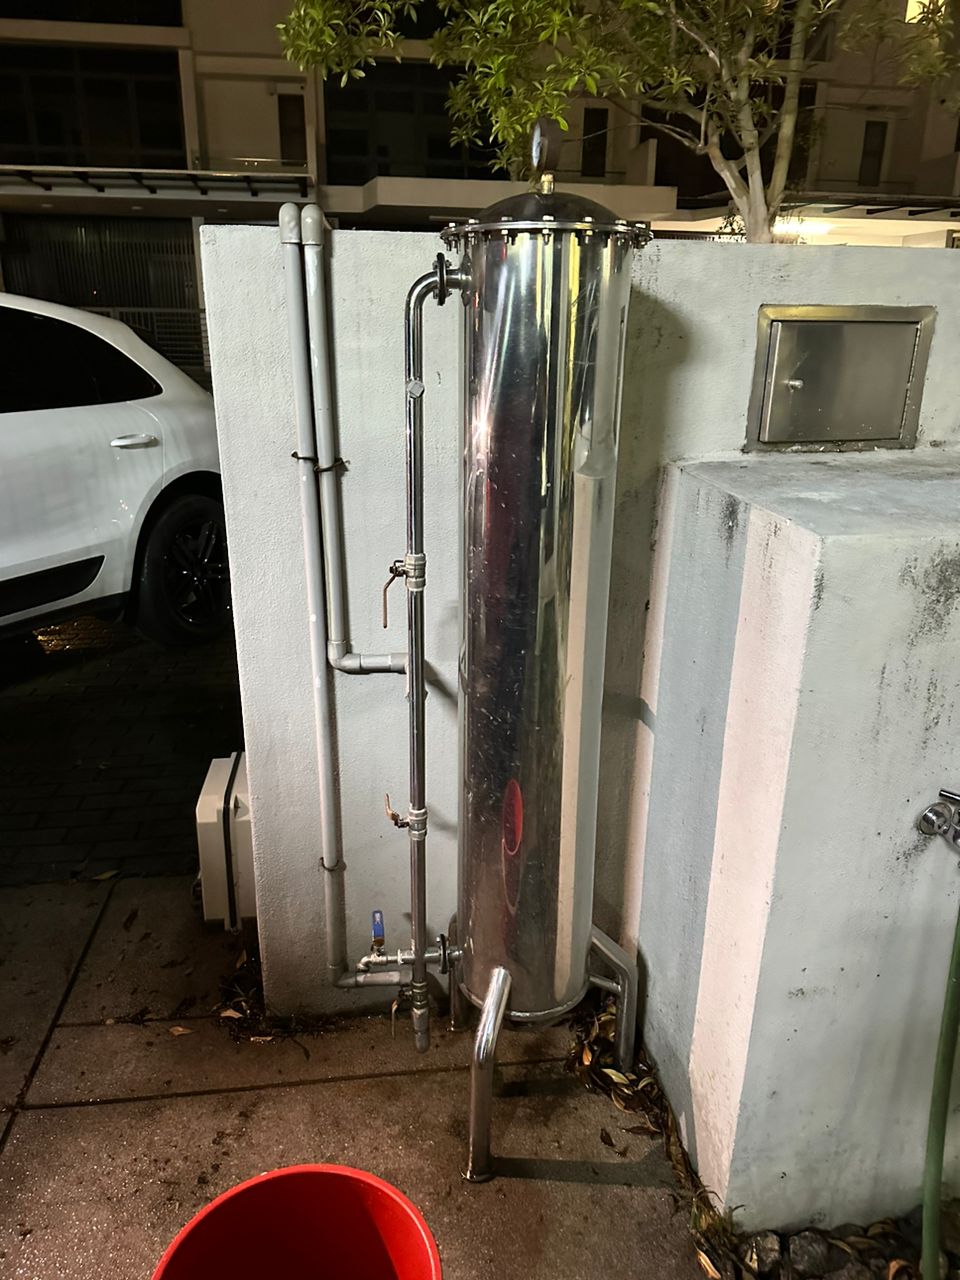
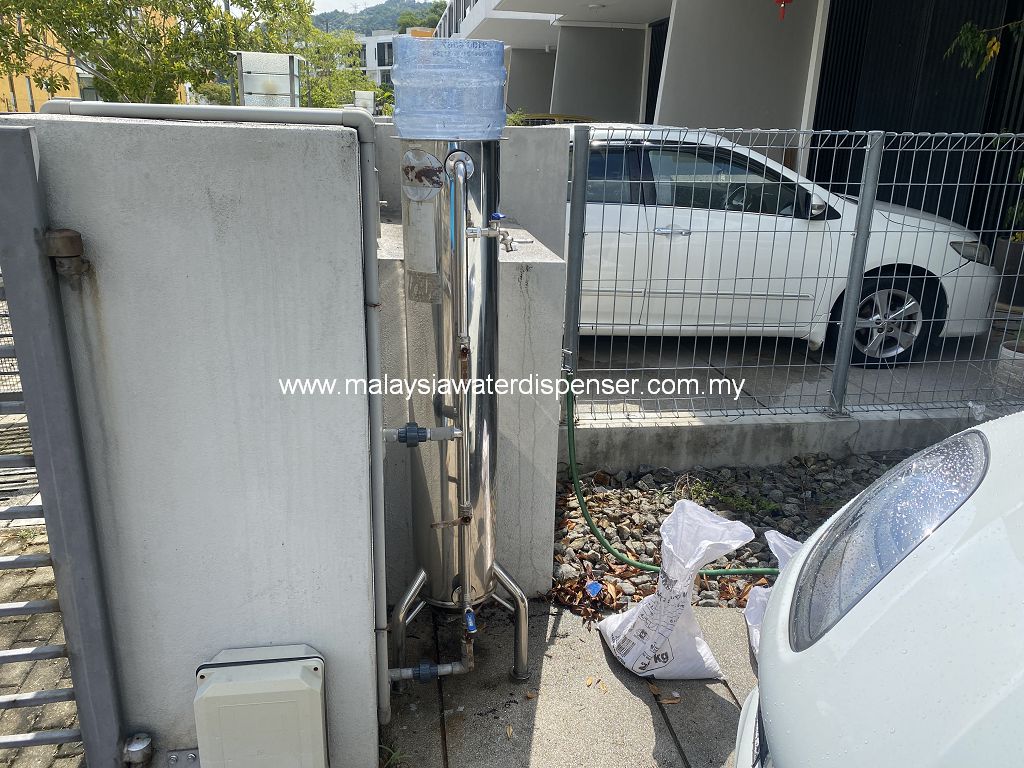
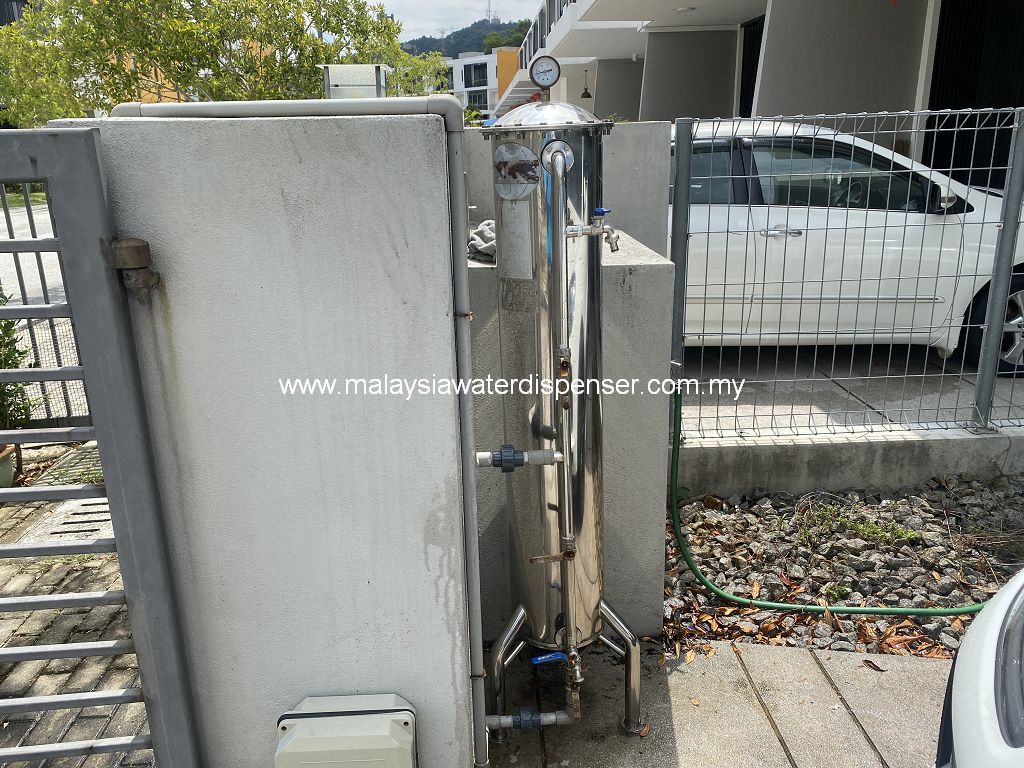
In everyday life, ensuring water safety is of paramount importance. Stainless steel outdoor water filters, especially the TK Rocket outdoor water filter system, with its efficient filter core and sturdy stainless steel body, has become an indispensable choice for outdoor enthusiasts. This article will guide you through the process of replacing and maintaining the sand and activated carbon filter core of the TK Rocket outdoor water filter system, ensuring a consistent experience of clean and healthy water usage.
Step 1: Preparation
Before starting the filter replacement, make sure you have the following items ready:
- A new sand and activated carbon filter core
- Clean cloth or paper towels
- Wrench and other necessary tools
- Catch basin
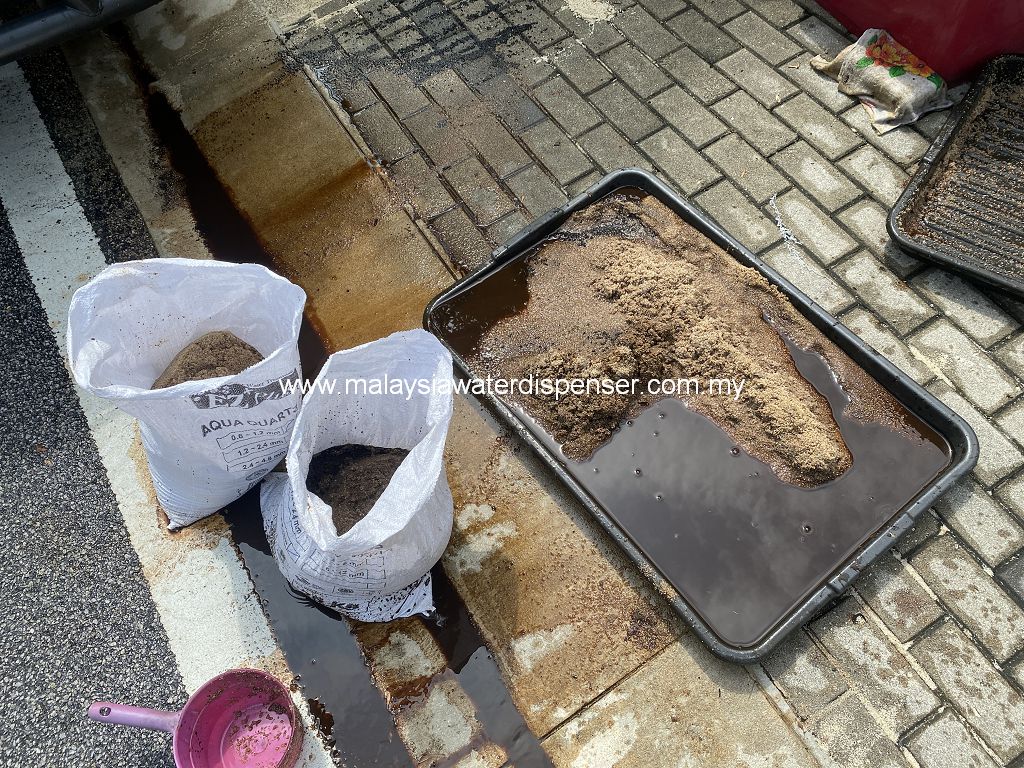
- Sand bags
Step 2: Filter Replacement
- Place the stainless steel water filter on a stable surface to prevent sliding or tipping. Use a wrench to gently unscrew the top fixing screw of the filter core.
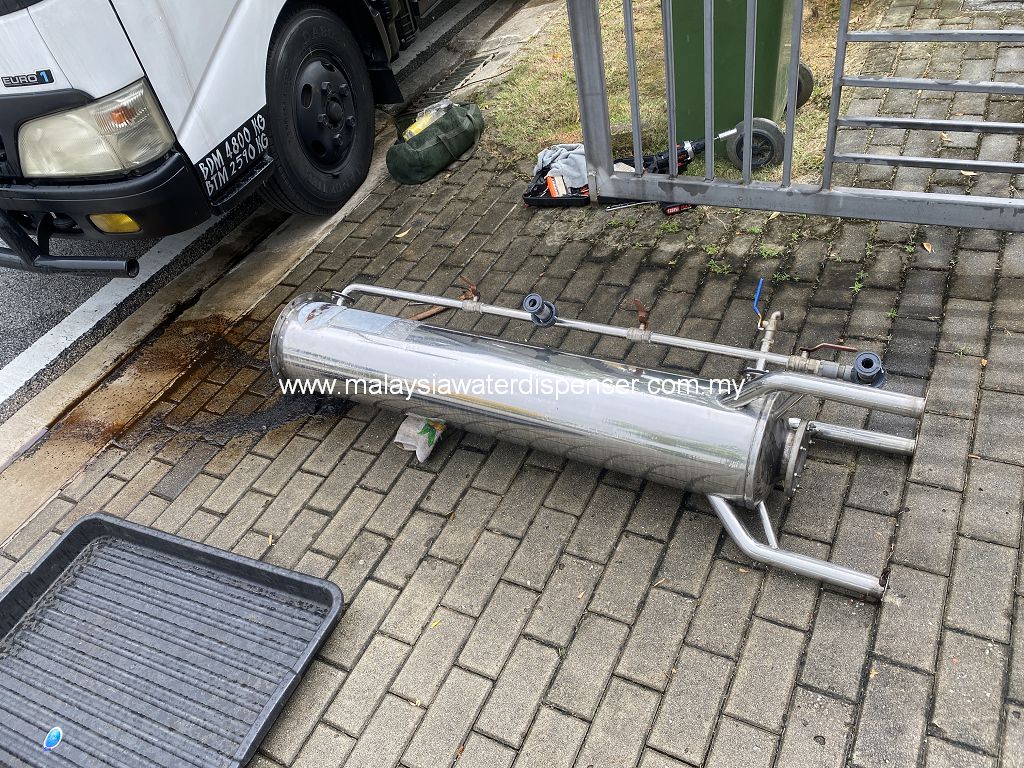
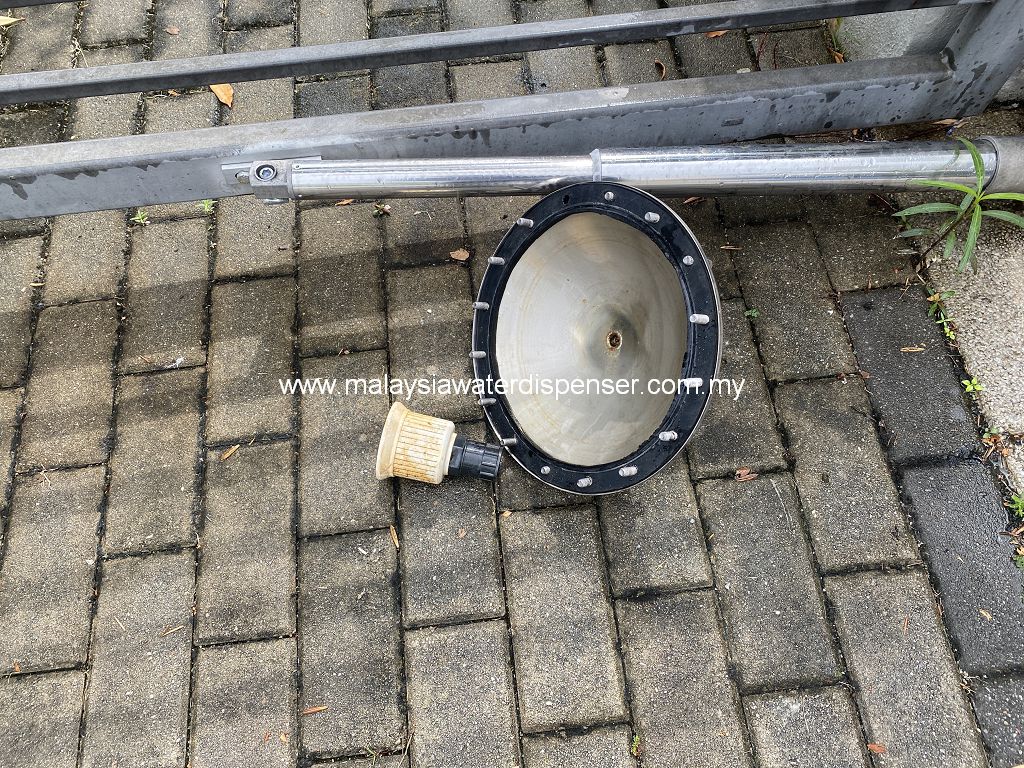
- Lay the filter body down, remove the old filter core, and set it aside. You can dispose of the sand and activated carbon from the old core into a garbage bag for proper disposal.
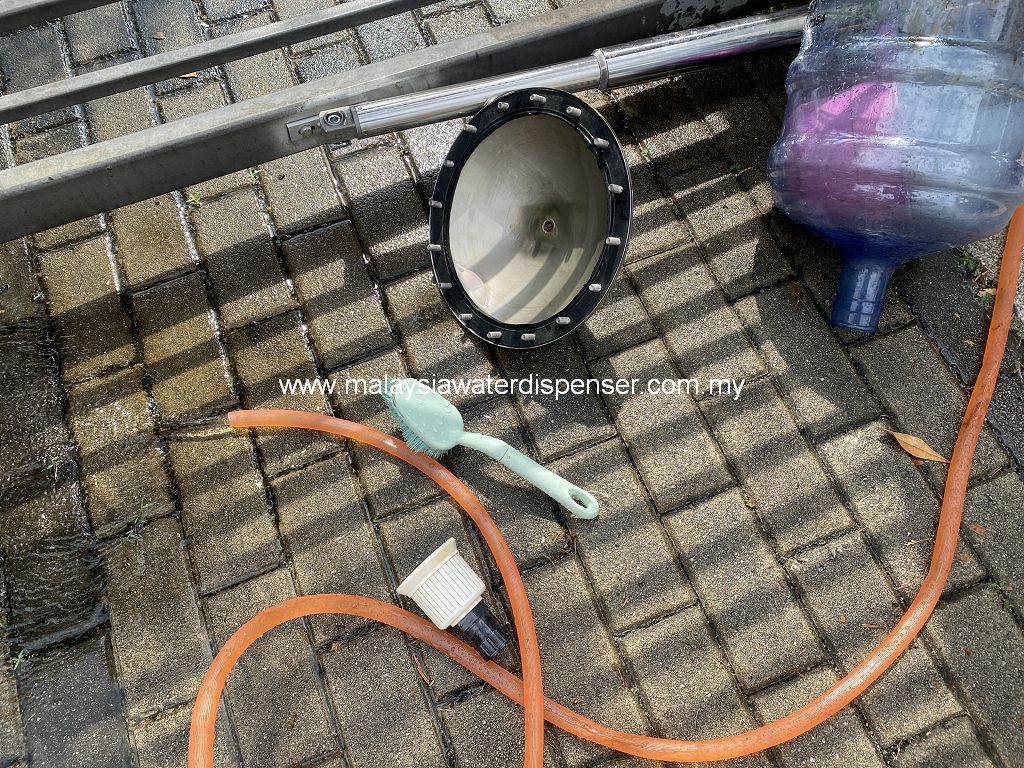
- Use clean water and detergent to wash the stainless steel body at the bottom of the filter core, ensuring there is no dirt or residue.
Step 3: Installing the New Filter Core
- Take out the new sand and activated carbon filter core and place it into the space at the bottom of the filter core. Ensure that the filter core fits snugly against the bottom of the body.
- Gently tighten the fixing screw, making sure not to overtighten it to avoid damaging the screw.
Step 4: Checking for Leaks
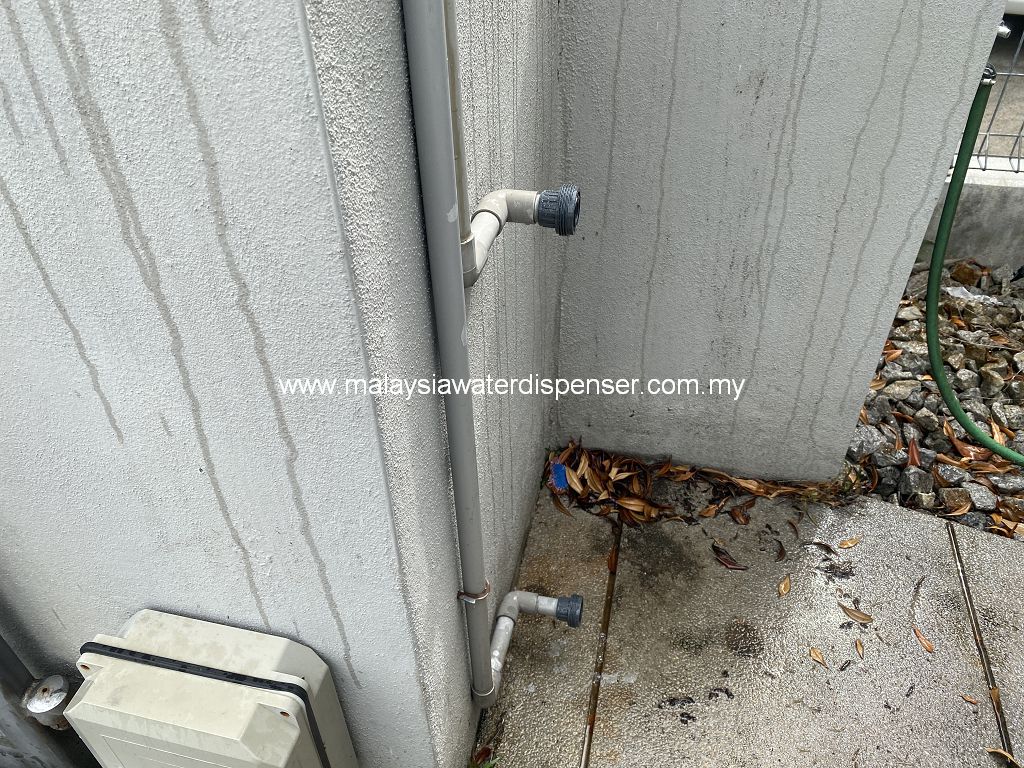
- Connect the water filter to the water source and open the water source valve. Observe if there are any signs of leaks from the filter. If you notice any leakage, immediately close the water source and check if the filter core is correctly installed and securely fastened.
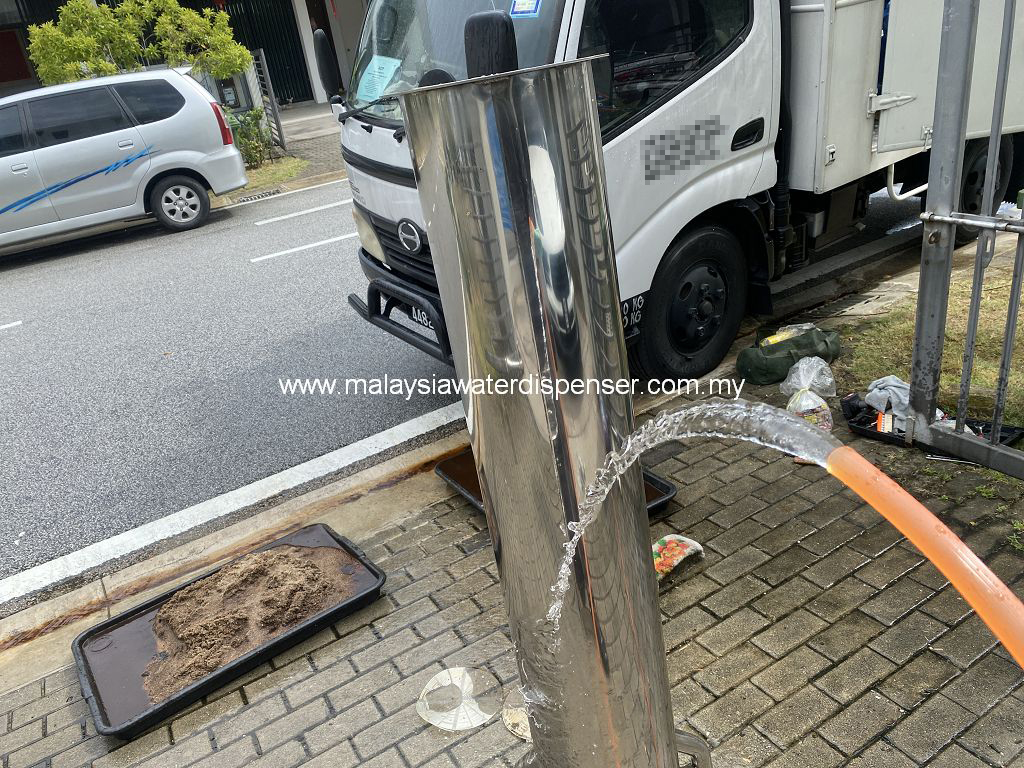
- If the water filter operates normally without leaks, allow water to flow through the filter core for a few minutes to ensure that the new materials inside the filter core are thoroughly rinsed, preventing impurities from entering the pipes during initial use.
By following the above steps to replace and maintain the filter core of the TK Rocket outdoor water filter, you can ensure a clean and healthy water source during your outdoor activities. Regularly inspecting and cleaning the filter core, as well as performing maintenance, will help extend the lifespan of the water filter and ensure the cleanliness of your water source.
If you need more information about outdoor water filter maintenance or selection, please feel free to consult our professional team. We are dedicated to providing assistance and advice.
在日常生活中,保障饮水安全至关重要。不锈钢户外滤水器,尤其是TK火箭户外滤水器,以其高效的滤芯和稳固的不锈钢机身,成为户外爱好者的不可或缺之选。本文将为您介绍如何更换和维护TK火箭户外滤水器的沙石活性炭滤芯,以确保持续的清洁健康使用水体验。
步骤1:准备工作
在开始更换滤芯之前,请确保您已准备好以下物品:
新的沙石活性炭滤芯
干净的布或纸巾
扳手和其他必要的工具
接沙盆子
装沙袋子
步骤2:滤芯更换
将不锈钢滤水器放置在稳固的表面上,确保不会滑动或倒下。使用扳手轻轻拧下滤芯顶部的固定螺丝。
将机身放倒,把旧的滤芯取出,并将其置于一旁。您可以将旧滤芯中的沙石和活性炭倒入垃圾袋中,然后进行环保处理。
使用清水和洗涤液清洗滤芯底部的不锈钢机身,确保没有污垢或残留物。
步骤3:更换新滤芯
取出新的沙石活性炭滤芯,并将其放入滤芯底部的空间中。确保滤芯与机身底部完全贴合。
轻轻拧上固定螺丝,确保螺丝不过紧,以免损坏螺丝。
步骤4:检查是否漏水
将滤水器连接到水源,并打开水源阀门。观察滤水器是否出现漏水现象。如果发现任何漏水,立即关闭水源,并检查滤芯是否正确安装和紧固。
如果滤水器正常运作且没有漏水,让水流通过滤芯几分钟,以确保滤芯内的新材料被充分冲洗,避免初次使用时的杂质进入管道。
通过按照上述步骤更换和维护TK火箭户外滤水器的滤芯,您可以确保在户外活动中享受到清洁健康的水源。定期检查滤芯和清洗过滤器,状况并进行维护,将有助于延长滤水器的使用寿命并保障您的水源清洁。
如果您需要更多关于户外滤水器维护或选择的信息,请随时咨询我们的专业团队。我们将竭诚为您提供帮助和建议。
